
Wearing a cooling vest through a brutal eight-hour shift — only to feel it go warm by hour three — is one of the most frustrating things in high-heat work. The obvious question hits fast: can you just add more ice packs? Short answer: yes. But there’s more to it than that.
Maybe you’re managing a crew of outdoor workers in peak summer heat. Maybe you’re trying to get every last minute of relief from your ice pack vest. Either way, knowing how cooling capacity works — and how to push it further — keeps you safe and productive. Here’s what you need to know.
Can Multiple Ice Packs Be Added to One Cooling Vest?
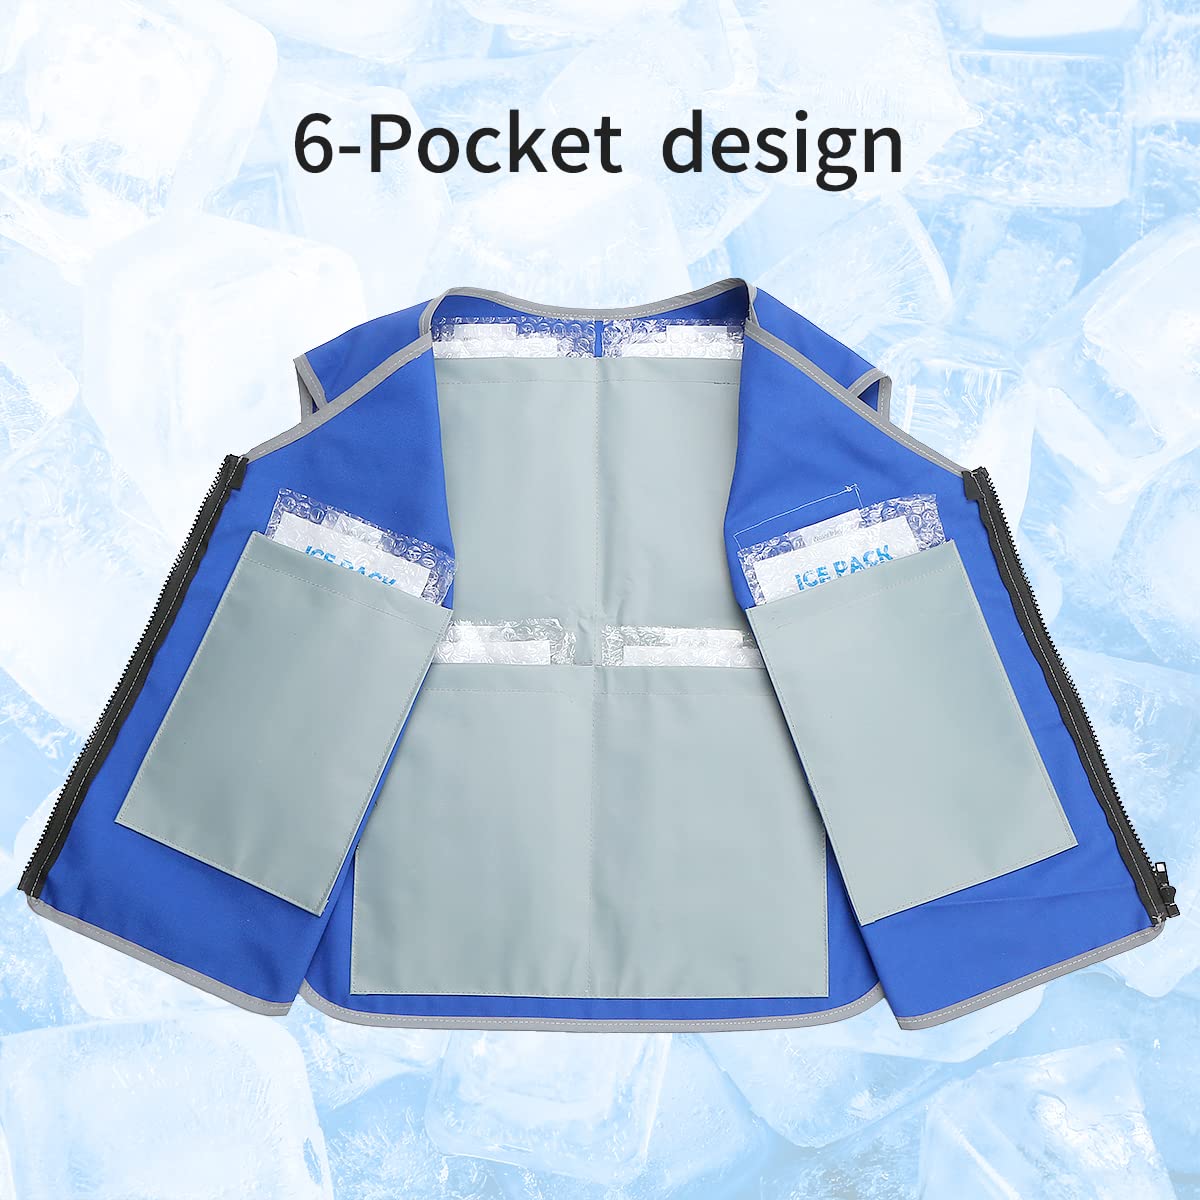
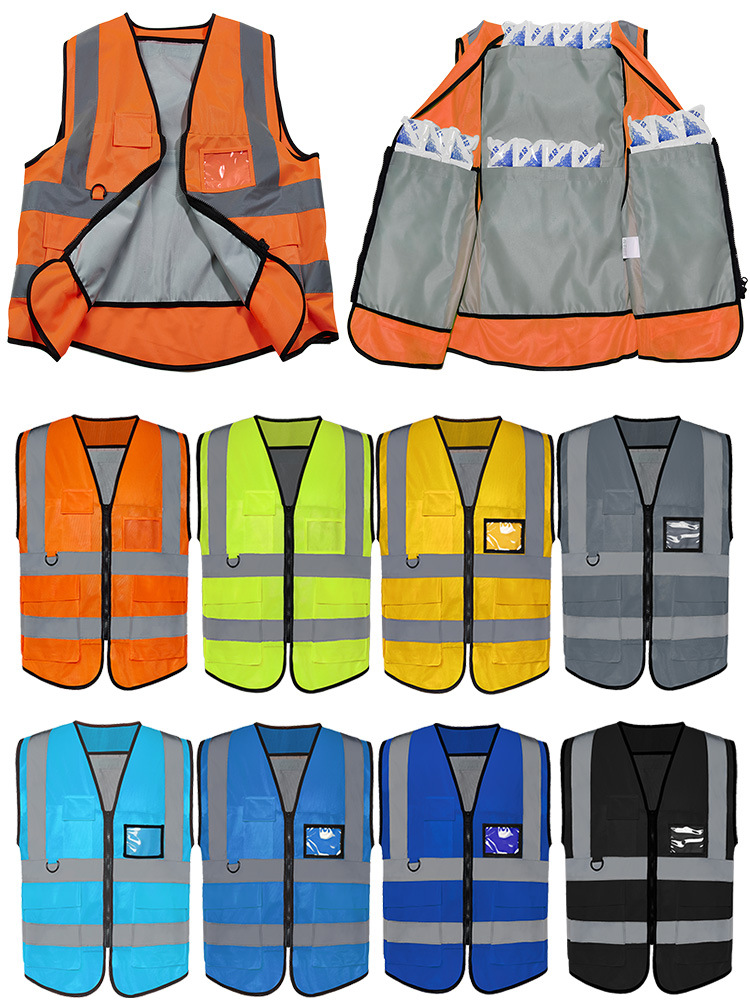
Most cooling vests are built for this. Standard designs hold 4 to 8 ice packs. Many come with expandable kits that include two complete heavy-duty sets — built for environments hitting 110°F and above, or for users over 250 lbs who need more coverage.
Here’s where it gets practical:
-
Single set: delivers 2–3 hours of cooling (up to 4 hours with phase change packs)
-
Rotating two or more sets: extends protection to a full workday without interruption
-
Phase change packs: recharge in 10–20 minutes in ice water — no freezer required
Take a three-person crew running three vests and four pack sets. They swap packs every 20–30 minutes. Every person stays in rotation all day. No one steps out. No gap in heat protection.
One safety note worth knowing: don’t freeze ice packs solid. At 32°F or below, direct skin contact risks frostbite. Phase change packs run at a safer 53–56°F — no frostbite risk, steady output throughout the shift.
The math is straightforward. One set gets you two hours. A spare set sitting in an ice water cooler gets you the whole day.
How Many Ice Packs Can a Cooling Vest Hold? (Capacity by Vest Type)
The number that matters most isn’t price. It isn’t brand. It’s pocket count — because pocket count is your hard ceiling on cooling capacity. No amount of brand loyalty changes that.
Vests range from 2 packs to 24. That’s not a typo. Here’s how the real-world numbers break down:
|
Brand / Model |
Ice Pack Slots |
Max Packs |
Cooling Duration |
|---|---|---|---|
|
Ergodyne Chill-Its 6215 |
2 |
2 |
~4 hours (PCM) |
|
Polar Products Poncho |
4 strips |
4 |
Varies |
|
FlexiFreeze Ice Vest |
6 pockets |
Up to 24 |
1.5–3 hours |
|
TechNiche / NHI Vest |
4 inserts |
4 |
2–4 hours |
|
Texas Cool Expandable |
Standard |
Heavy-duty upgrade |
~3.5 hours |
|
Generic Tested Vest |
3 packs |
Pocket-limited |
2.2 hrs @ 102°F |
A few things jump out from that table.
The FlexiFreeze sits in a category of its own. It has six interior pockets — four across the back, one on each side of the torso. You can load up to 24 individual ice packs at once. Full wet weight hits 76 ounces. That’s a real commitment. But for long outdoor work in brutal heat, it’s a serious option worth considering.
The Ergodyne 6215 holds just two packs — yet it stretches those two packs to four hours. It does that through phase change technology, not raw volume. At 6 lbs for S/M, it’s lighter on your body and longer on duration. Different tool, different job.
The generic tested vest — three frozen packs, 102°F ambient heat, 30% humidity — lasted 2.2 hours. Those are real-world numbers, not marketing copy.
Here’s the key takeaway: more pockets do not mean longer cooling. The FlexiFreeze runs 1.5–3 hours despite holding 24 packs. The Ergodyne runs 4 hours with just two PCM inserts. Capacity and duration are connected — but they are not the same thing.
Know your pocket count. Know your duration need. Match those two numbers, and you’ve made the right call.
Thin Pack vs. Thick Pack: Does Mixing Ice Pack Types Work?
Not all ice packs perform the same — and that gap matters more than most people realize.
Thin packs like the Yeti Thin Ice start cold and fade fast. They drop to -5°F at the freeze point, hit 12°F by hour two, and climb to 28°F by hour four. That’s a sharp initial burst — useful, but short-lived. Thick packs like the Engel Ice behave in a completely different way. They freeze between 20°F and 32°F. They hold that temperature far longer. Ice retention stretches to 24–36 hours, compared to the 12–18 hours you get from thinner options like Yeti Ice or Techni Ice.
So what happens when you mix them inside a single ice pack replacement vest?
It works — and works well. The key is placing each type in the right spot.
Front vs. Rear: The Placement Strategy That Changes Everything
The logic is simple: thick packs up front, thin packs in the rear.
Thick packs carry more mass. More mass holds cold longer — that’s basic thermodynamics, not marketing. Engel-style thick packs at the front push sustained, deep cooling against your core, where heat stress hits hardest. Thin packs in the rear deliver that fast -5°F burst for rapid relief, without adding bulk at your back.
Here’s a solid configuration for a body cooling vest running a full outdoor shift:
-
Front 4 slots: thick packs (~1.5 lbs each) — sustained cooling, 24–36h retention
-
Rear 4 slots: thin packs (~1 lb each) — rapid chill, quick temperature drop
-
Total vest weight: around 9–10 lbs — on par with vests like the Ergodyne L/XL at ~9 lbs loaded
That puts about 2–4 lbs of pack weight per zone, balanced for both cooling intensity and mobility.
One thing worth knowing: mixing pack types doesn’t double your cooling duration. No base ice means even the best two-pack setup depletes within 12–18 hours. Engel and Techni Ice lead in that no-ice scenario — but no pack beats the physics ceiling.
Mix smart. Place each type with purpose. The difference between a vest that lasts a full shift and one that fades by noon often comes down to which pack sits where.
How Adding More Ice Packs Extends Your Cooling Duration
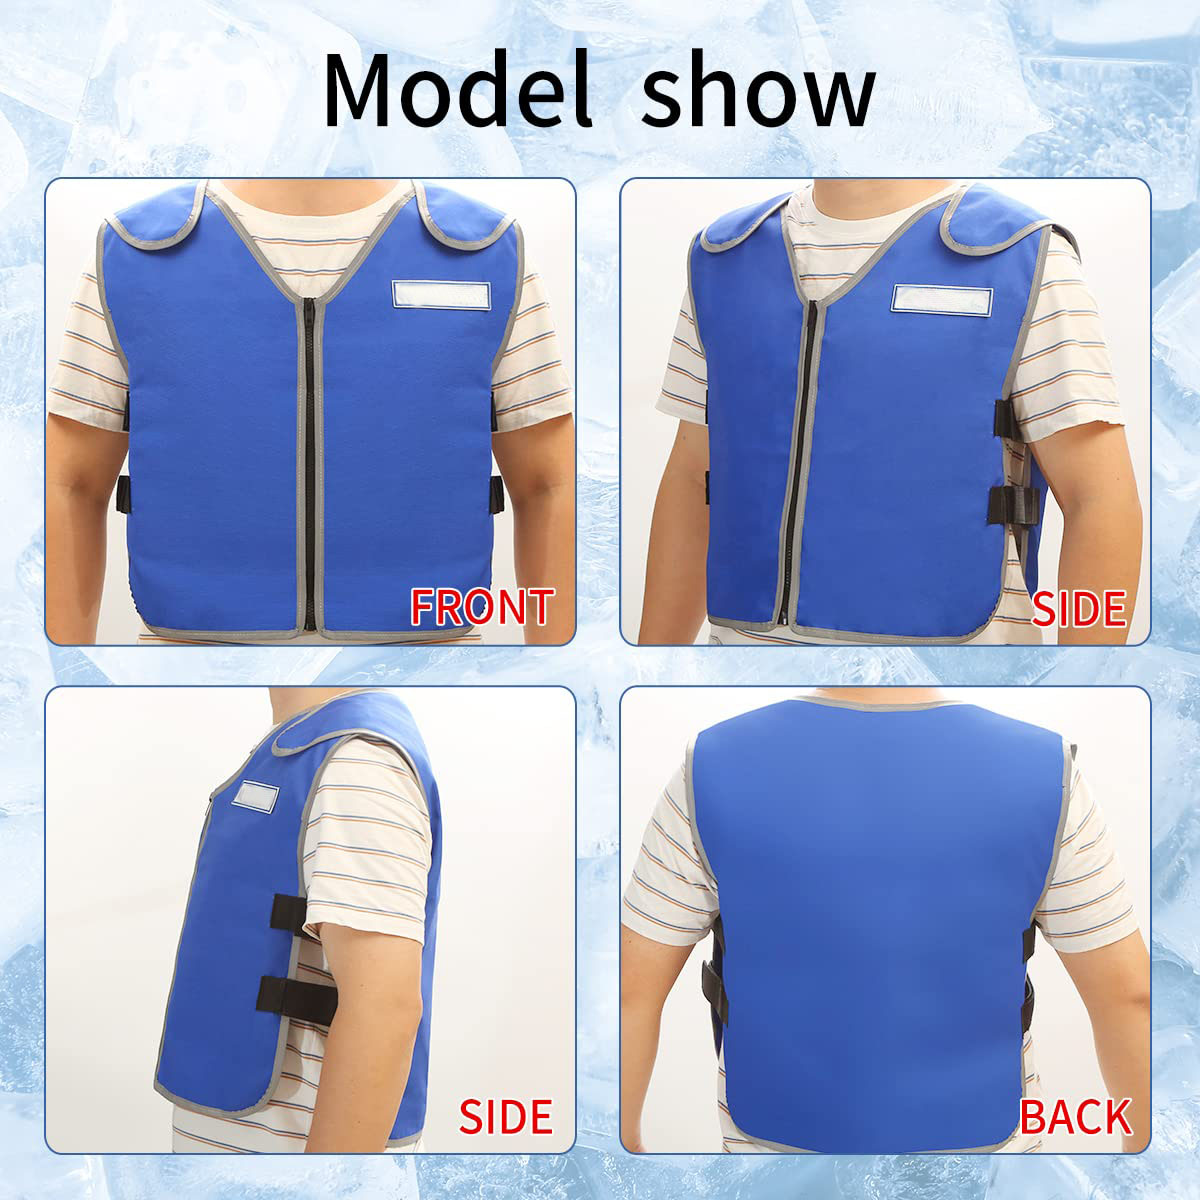
Pack count and cooling duration are tied together — and the math is simpler than most people expect.
Every extra ice pack you load into your vest adds 15–30 minutes of base cooling time. Small packs run out fast — about 15 minutes under real heat load. Larger, trauma-sized packs last closer to 30 minutes. More chemical material means the cooling reaction runs longer. More mass, more time. That’s the whole equation.
4-grid thick packs hold 30% more phase change material than standard thin-grid packs. That 30% extra material translates into longer vest cooling duration. It scales with thermal mass — not marketing claims.
Matching Pack Quantity to Your Actual Workload
Two scenarios. Two different strategies.
Short bursts of intense heat — a heat stress incident, a hard physical push, a 20-minute window in direct sun — need 2 to 4 packs, swapped every 15 to 30 minutes. You get peak cold output right when you need it most.
Sustained outdoor work — a full shift, an all-day job site, hours of continuous exposure — calls for 6 to 8 packs or more, rotating on a set schedule. That rotation is what gets you to full-day coverage with no gaps.
Here’s the breakdown:
-
Each additional pack: adds ~15–30 min to total vest cooling capacity
-
Swap interval: every 15–30 minutes keeps cold output consistent
-
High ambient heat: double your pack count to handle faster warmup — going from 4 to 8 packs doubles usable duration in extreme conditions
One adjustment worth making now: scale pack count to environment temperature, not personal comfort. A setup that works at 90°F burns out twice as fast at 105°F. The vest stays the same. The heat load doesn’t.
Step-by-Step: How to Install Multiple Ice Packs into Your Cooling Vest
Bad installation wastes cold. Here’s how to get it right.
Step 1: Remove the packs from the vest carrier.
Pull them out first. Packs activated inside the vest don’t spread cold across the surface. Uneven packs mean uneven coverage — so take them out before you do anything else.
Step 2: Activate your ice packs before they go in.
Submerge them flat in ice water for 10–15 minutes. Watch the liquid inside. It starts clear, then shifts to a semi-solid white waxy substance. That change is your signal. Keep the packs flat under the water — they’ll float up on their own. Hold them down the whole time.
No ice water? A freezer works, but only after the initial soak. Ten minutes in water first, then move them to the freezer to solidify. Skip the soak and you’re cutting output short. Don’t do it.
Step 3: Insert center pockets first.
For multi-plate vests, slide the curved ice plates into the front and rear plate bags — two plates total. Rotate and flip each plate until it sits flush in the bag, then close it up. The curves need to rest flat against your torso. That direct contact is where the cooling happens.
Step 4: Distribute the load across each section.
Work the gel through the internal baffles until each section reaches about ½ inch depth. The baffles are there for a reason. Without them, gel sinks to the bottom after it melts. You lose coverage at the shoulders and upper back — exactly where you need it most.
Step 5: Adjust fit while wearing the vest.
Drape the vest over your head, grab the reflective belt, and get the fit aligned before tightening anything. Tighten clockwise once all packs are in place. Multiple body cooling vest inserts add weight that pulls the vest forward. Adjust it on your body, not on a table — the fit changes once you’re wearing it.
Get this right and the front and rear plates together deliver 147 watts of cooling output. That number holds only if the plates sit flat, the gel spreads across each section at depth, and the vest presses snug against your torso.
Who Benefits Most from Multi-Pack Cooling Vest Configurations?
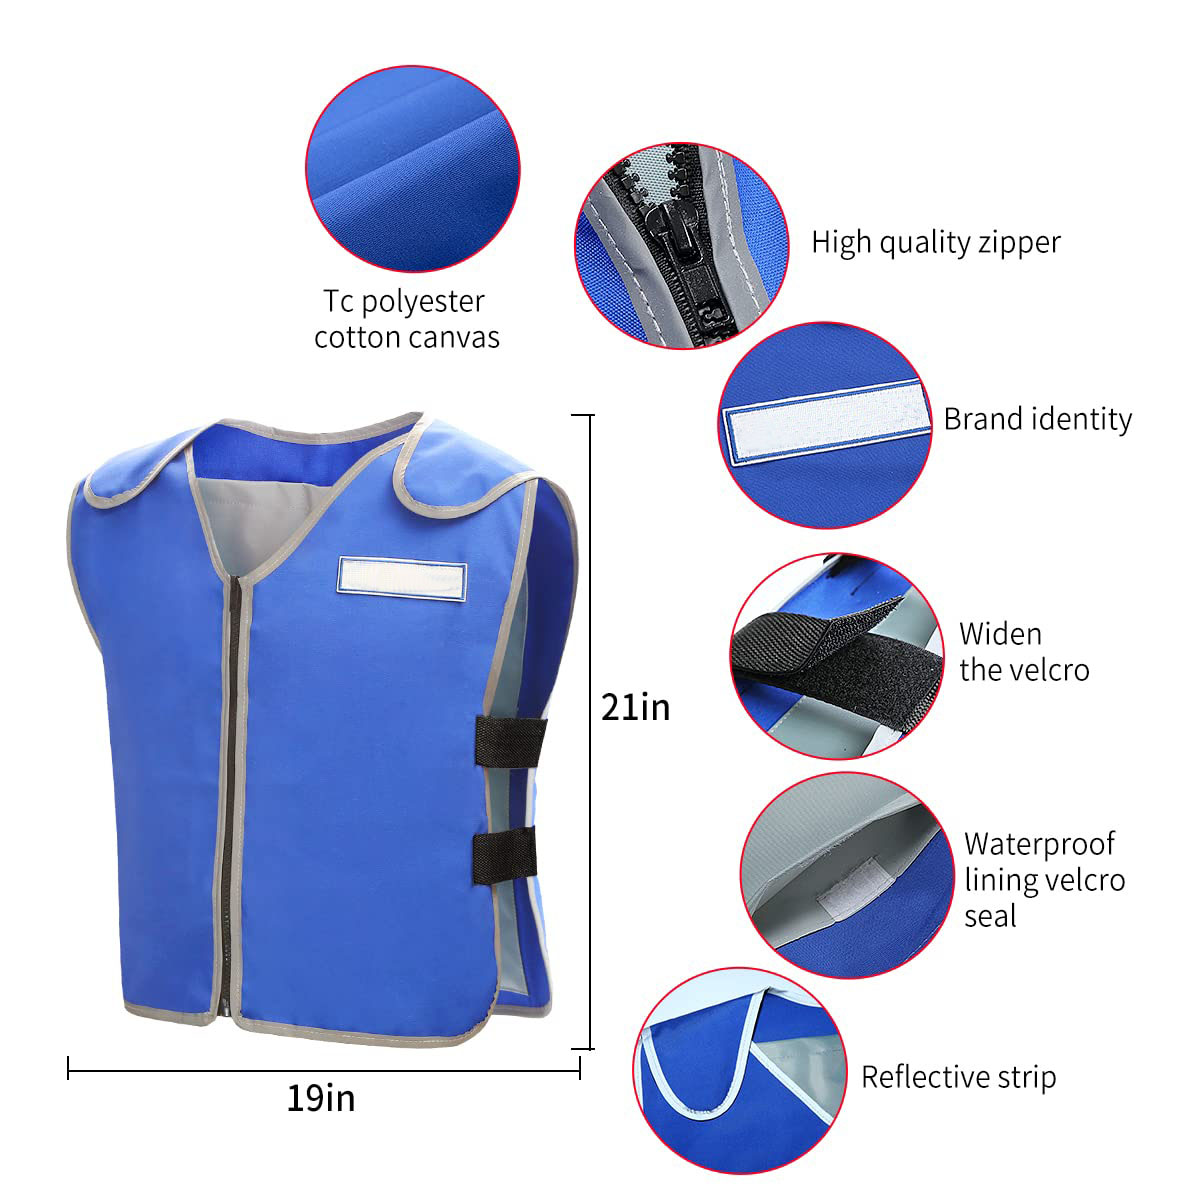
The research is clear. Some people don’t just prefer more cooling capacity — they need it to stay safe and functional.
Here’s who gains the most from a multi-pack setup:
Multiple Sclerosis patients see some of the biggest improvements. In clinical studies, MS patients wearing active cooling vests walked 46% farther (1,879 meters vs. 1,302 meters). They also sustained activity 36% longer than those without vests. Heat doesn’t just cause discomfort for this group — it makes neurological symptoms worse. Keeping the body cool is what separates finishing a full rehabilitation session from stopping halfway through.
Outdoor and occupational workers — construction crews, warehouse staff, municipal workers — see real physiological gains too. Heart rate drops 11% with a cooling vest on (100.55 bpm vs. 113.33 bpm). Core temperature falls. Cognitive error rates go down. For anyone pulling an 8-hour shift in direct sun, those numbers matter. They’re the margin between staying sharp and making expensive mistakes.
Athletes get two clear benefits: pre-exercise cooling and faster recovery. Cooling during warm-up lowers your baseline core temperature. That gives you a larger thermal buffer for the effort ahead. Post-exertion, a 15-minute vest application during halftime brings down both skin and core temperatures — far more than passive rest alone.
The pattern across all three groups is the same: single-pack cooling runs out before the job does. Multi-pack setups exist for one reason — these users can’t afford a gap in cooling coverage.
Compatibility Guide: Which Extra Ice Packs Work with Your Vest?
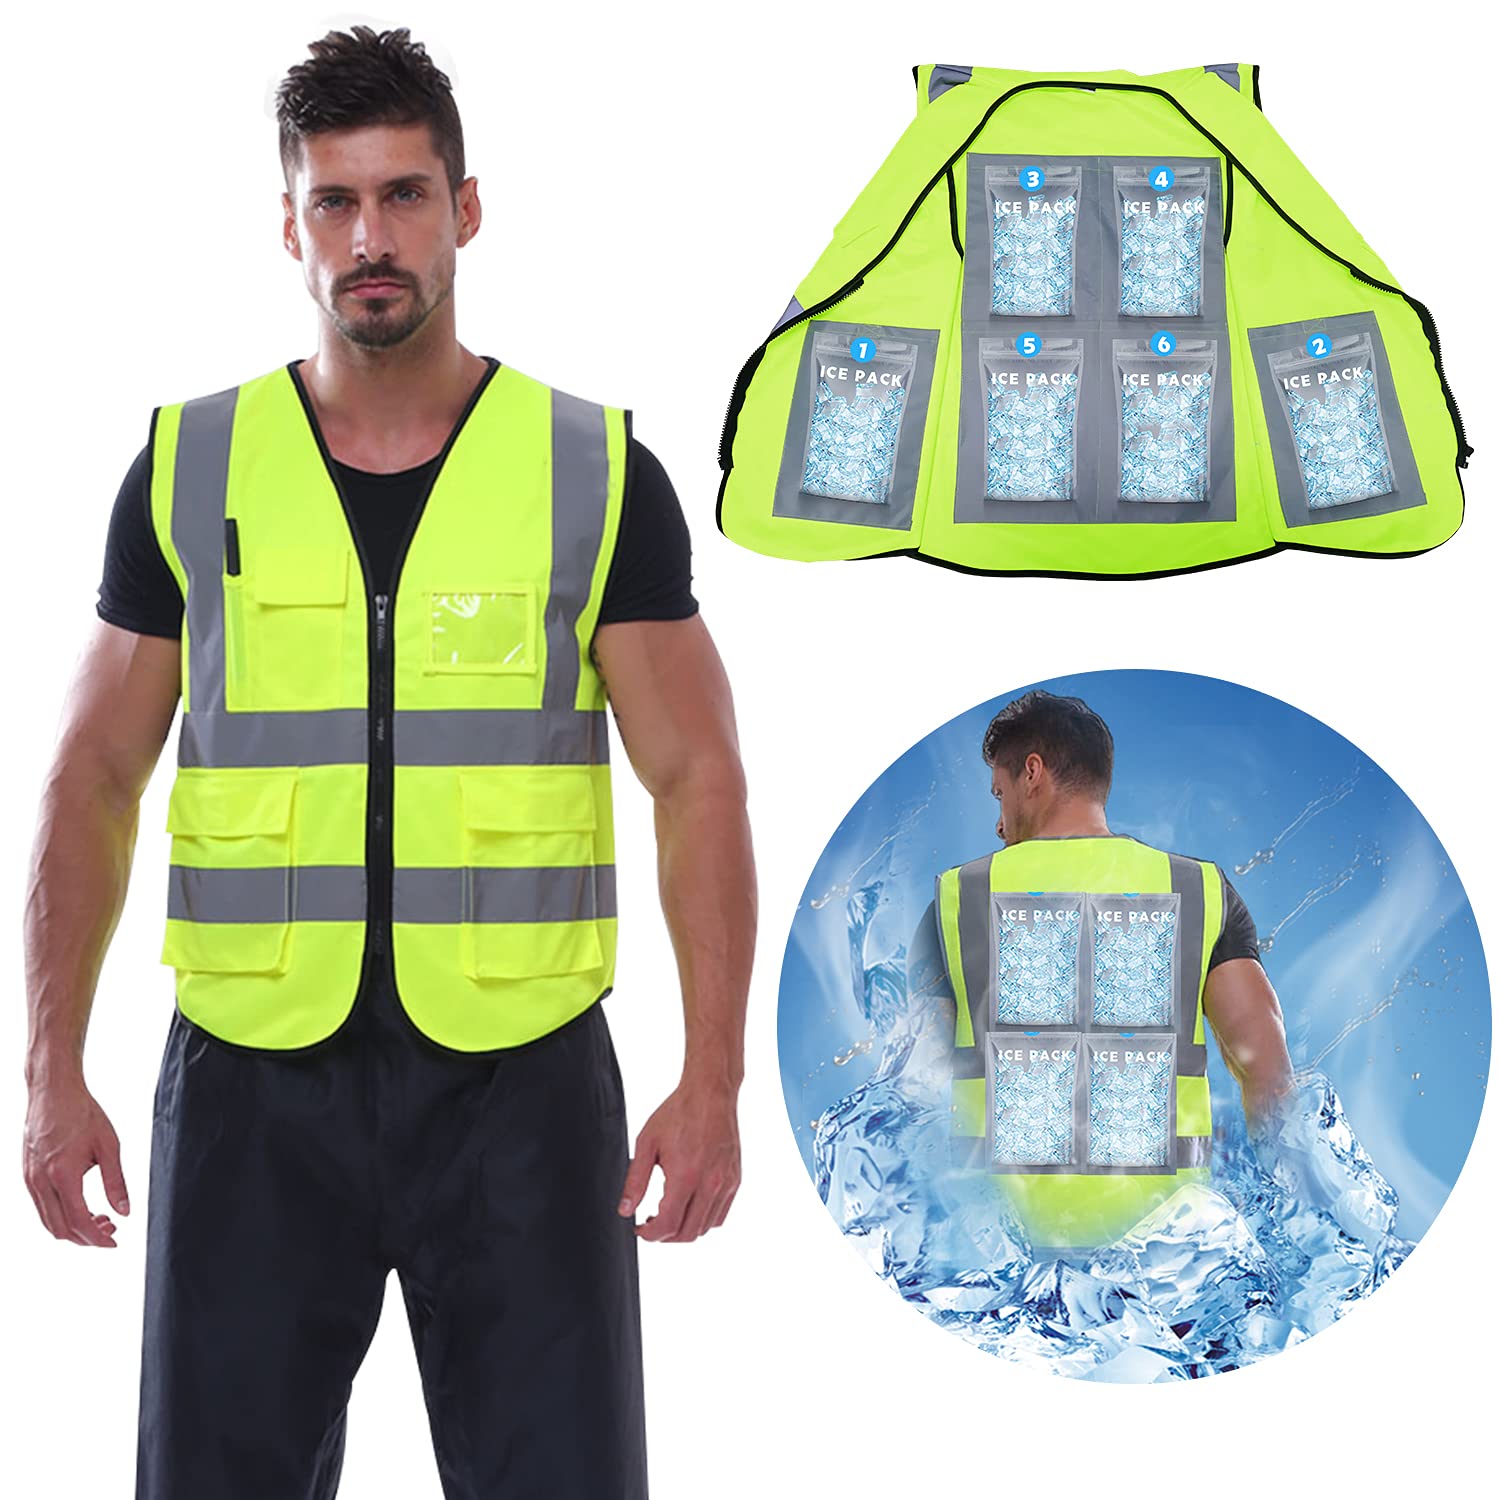
Wrong pack, wrong vest — and you’ve bought yourself an expensive paperweight. Cross-brand compatibility is the most overlooked problem in the cooling vest space. It costs people real money.
Here’s what determines whether an extra ice pack works with your vest:
Pocket size is the first filter. Ergodyne vests (6215, 6225, 6230, 6235) use their own honeycomb-design packs in S/M and L/XL cuts. EZCooldown vests take either a slim thin 8-cell or a bulkier thick 4-cell format. Those two formats aren’t interchangeable — even within the same brand. FlexiFreeze and Ylnewways run 400ml / 13.5 oz packs across 6 to 24 slots. None of these fit each other without testing first.
PCM temperature rating is the second filter — and the one that bites hardest. Get this wrong and you’re either freezing skin or getting no real cooling at all.
-
15°C / 59°F (EZCooldown blue tab): intense, short-duration output
-
18°C / 64°F (Ergodyne): up to 4 hours, steady delivery
-
21°C / 70°F (EZCooldown yellow tab): moderate intensity, extended duration
Mixing a 15°C pack into an 18°C vest won’t break the vest. But it shifts the thermal output. You end up with either weak cooling or real skin risk — neither is what you want.
A Four-Step Check Before You Buy
-
Identify your vest model — Ergodyne 6230, EZCooldown Performers, FlexiFreeze, whatever you’re using
-
Measure your pocket dimensions — don’t eyeball it. A 400ml pack and a honeycomb pack can look nearly identical but fit in completely different ways
-
Match the PCM temperature — check the Velcro tab color on EZCooldown packs. Yellow means 21°C, blue means 15°C
-
Test fit with activated inserts — a pack that slides in dry may buckle once the PCM solidifies
Stick to manufacturer-matched packs where you can. Buying extras on Amazon? FlexiFreeze and Ylnewways were the top-selling compatible options in 2023. Still, confirm the pack volume matches your vest’s slot spec before checkout.
Pro Tips: Maximize Cooling Performance with Multiple Ice Packs
A vest that carries you through a full shift versus one that quits at hour three — the difference is usually execution, not gear.
A few things worth knowing before you load up:
Ice beats chemical cold packs — every time. Chemical packs burn out in about five minutes. Ice packs deliver a cooling rate of 0.27°C/min on first application, compared to 0.21°C/min for gel packs. That gap is real. It compounds across a long shift.
Rotation keeps output consistent. Research confirms this: reapply ice packs every hour — 20 minutes on, then off. That pattern maintains steady cooling across four-plus hours. The cold itself doesn’t weaken. The strategy just has to stay active.
Pre-chill everything the night before. A cold cooler holds temperature longer than a warm one racing to catch up. Pack it full — a loaded cooler outperforms a half-empty one by a clear margin. Block ice melts slower than cubed. Stack ice packs on top of your contents, not underneath. Cold air falls. Use that to your advantage.
Combine pre-cooling and active cooling. Studies show that pairing both strategies delivers a 5.6% performance improvement in endurance work. Ice vests alone produced 16.7% to 21.5% gains in time to exhaustion. That’s not a small number.
Small decisions. Big margins.
Conclusion
More ice packs. More time. Less heat stress. It’s that straightforward.
Your cooling vest isn’t limited to a single insert — and now you know how to push it further. Stacking thin packs gives you a snug, all-day fit. Running a dual-zone setup covers more body surface. Either way, your vest’s ice pack pockets are a built-in advantage. Most users never tap into it.
Outdoor workers, athletes, anyone fighting heat exhaustion on the job — a multi-pack setup isn’t a hack. It’s how the vest was meant to work.
So here’s your next move:
-
Check your vest’s pocket capacity
-
Grab a compatible set of replacement inserts from coolheatech.com
-
Stop letting one ice pack limit your comfort
The heat doesn’t negotiate. Neither should your gear.