
As temperatures rise, ensuring your furry companion stays cool is crucial—especially during outdoor adventures or scorching summer days. Dog cooling vests have emerged as a game-changer in pet safety, but knowing how to use a dog cooling vest effectively can maximize its benefits. At Ice Bear, with 16 years of expertise in manufacturing premium cooling solutions (for humans and pets alike), we’ve crafted this guide to demystify cooling vests, answer common questions, and help you choose the best dog cooling vest for your pup.
Quick Start: 3 Simple Steps to Use Your Dog Cooling Vest
Most dog cooling vests use the same three-step process. The exact method depends on your vest type. You can get your vest ready in under 5 minutes.
For Evaporative Cooling Vests (Most Common Type)
Step 1: Soak the Vest
Put the entire vest in cool water for 2-3 minutes. Every part of the fabric needs to be soaked. The water triggers the cooling technology. This keeps your dog comfortable.
Step 2: Remove Excess Water
Wring or squeeze out the extra water. The vest should be damp but not dripping. This stops your dog from getting soaked. Plus, it gives you maximum cooling power. The vest should feel wet to touch but not leave puddles.
Step 3: Fit and Secure the Vest
Slide your dog’s head through the neck opening. Position the vest over their back. Secure the adjustable straps around the chest and midsection. The fit needs to be snug enough to touch your dog’s body. But loose enough to fit two fingers between the vest and their skin. Your dog should move without limits to their shoulders or breathing.
Quick fit check: The vest should cover your dog’s chest, back, and midsection. These are the key cooling zones. Blood vessels sit closest to the surface here.
How to Activate Evaporative Cooling Vests (Step-by-Step)
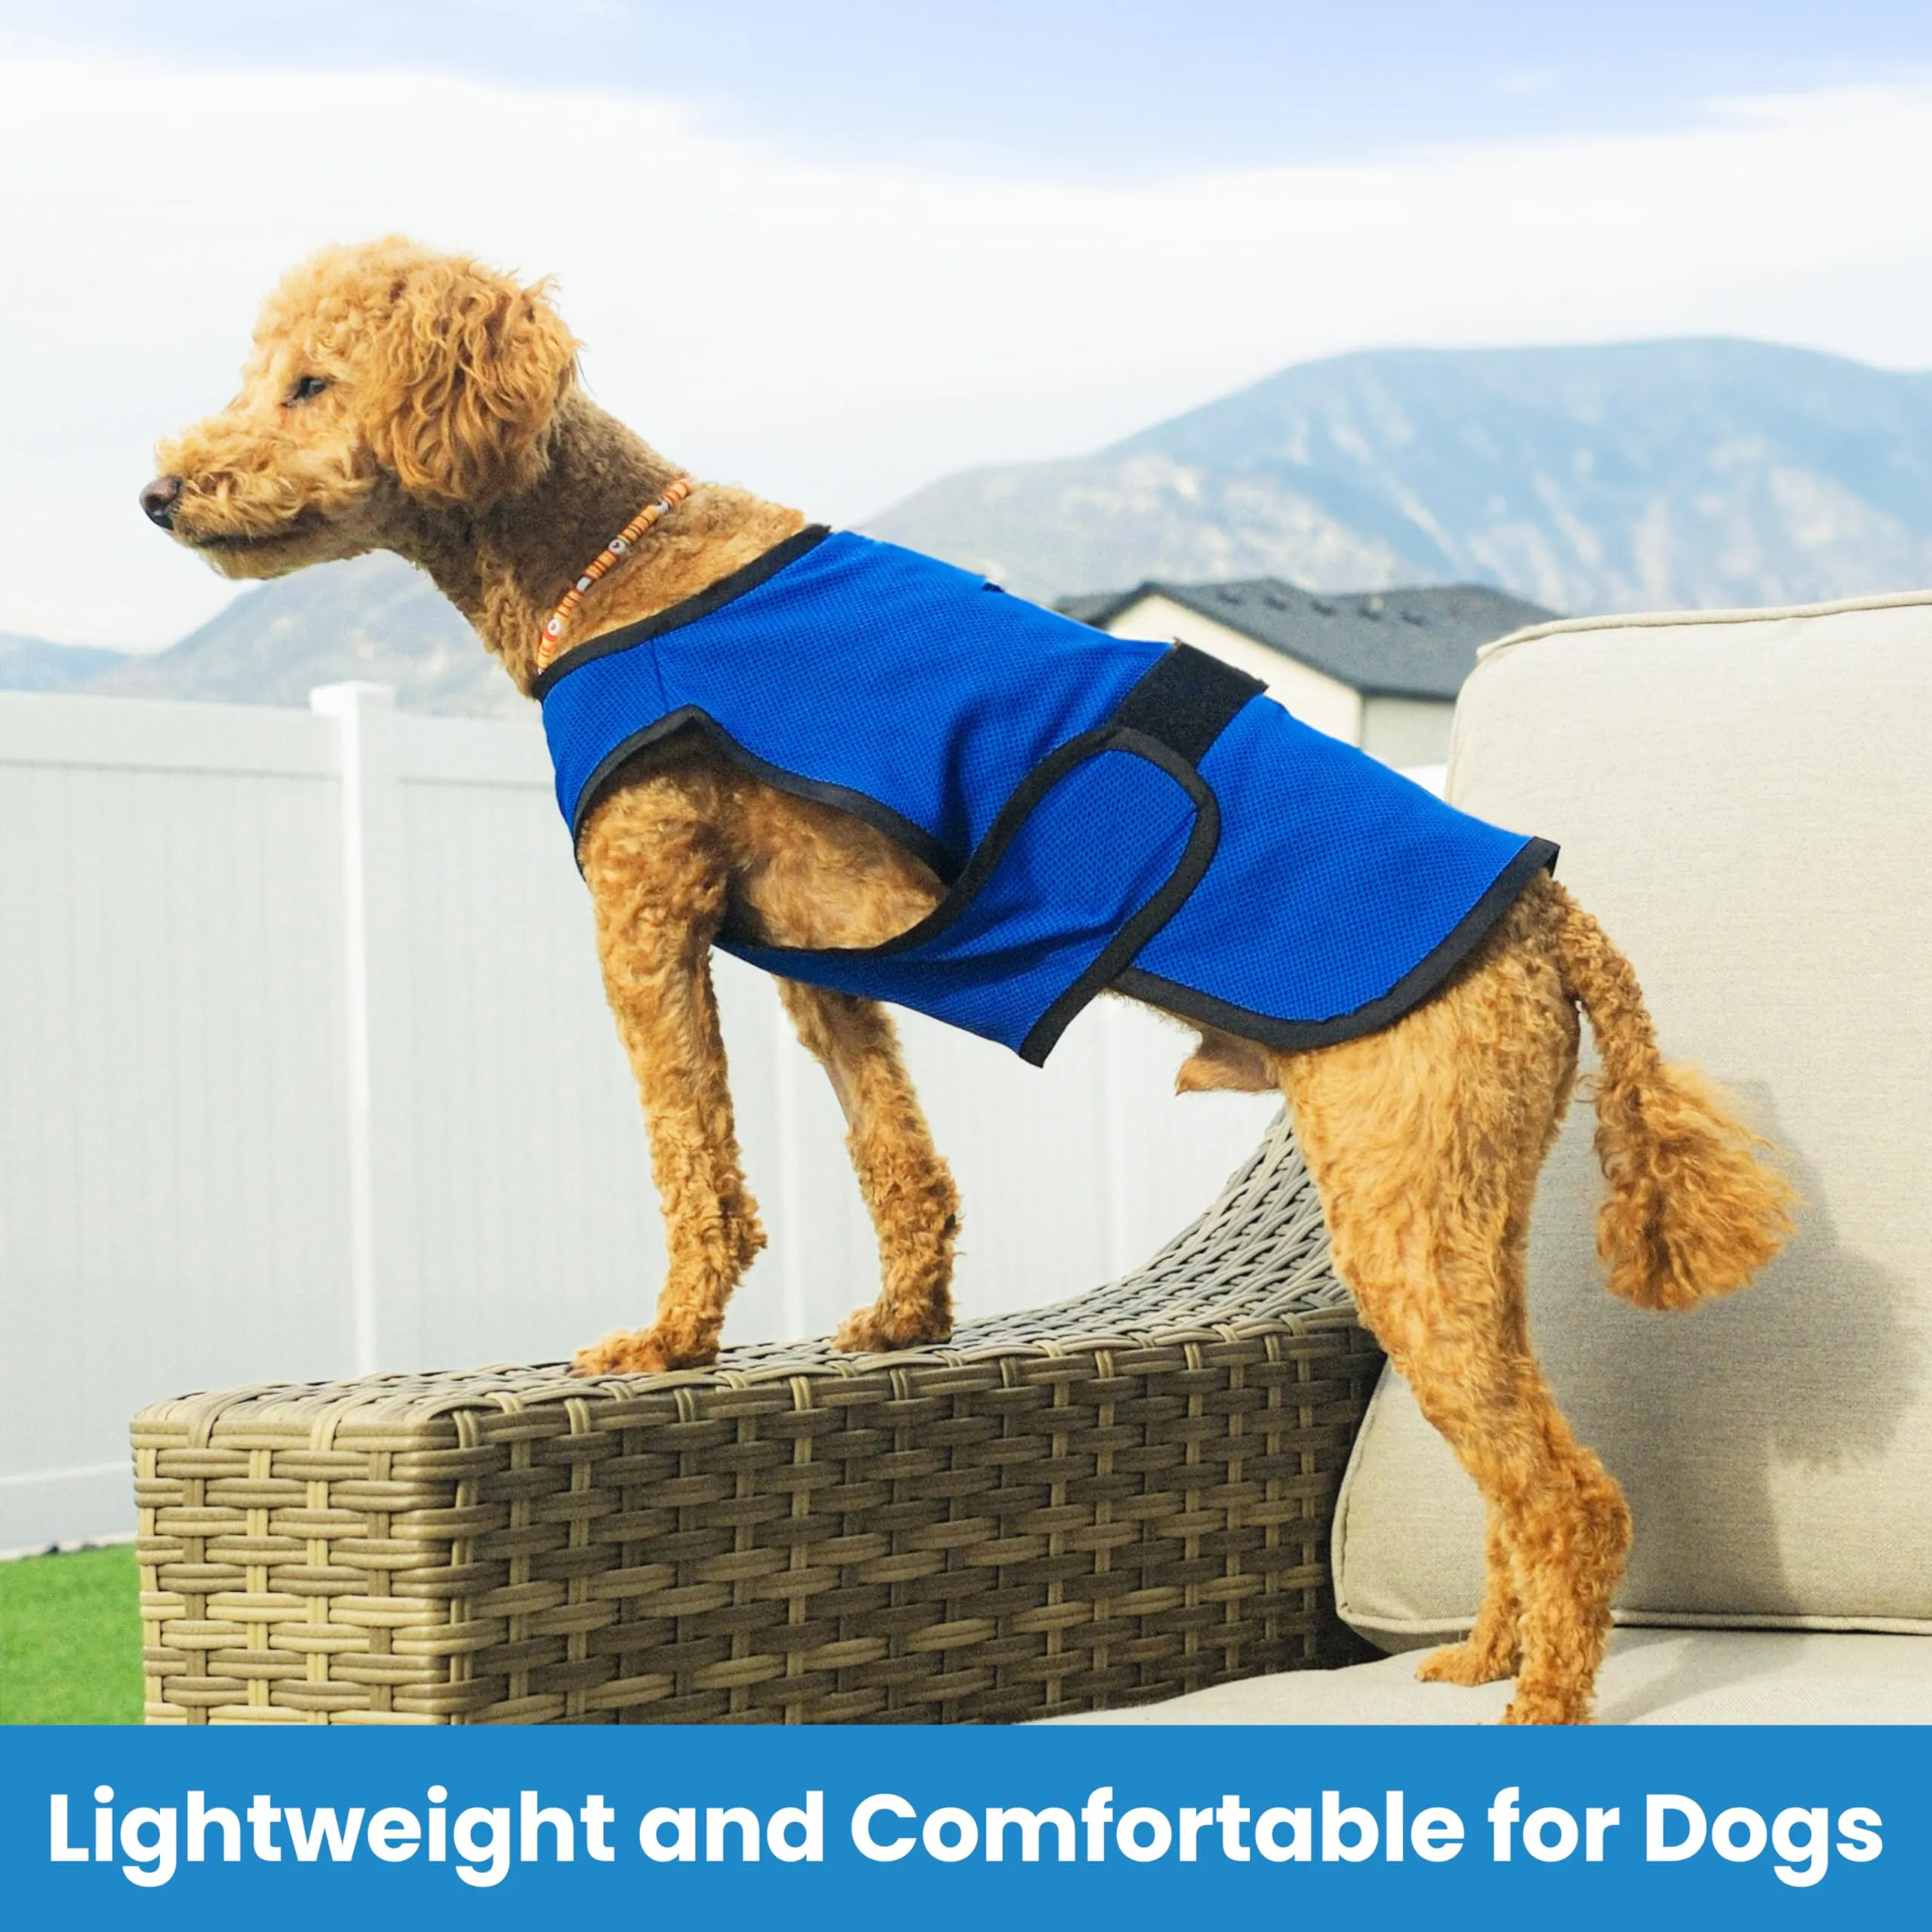
Evaporative cooling vests come in three main types. Each type uses different internal technology. So, each one needs a different way to activate it. Know your vest type to get the best cooling results.
Standard PVA Material Vests (Most Common)
PVA (polyvinyl alcohol) vests arrive stiff when dry. This is normal. Water softens the material.
Activation process:
Hold the vest under cool running water for about 1 minute. Or submerge it in a bucket of clean water. Watch for the color change. The fabric shifts from light to darker when saturated. Feel the material. It should become soft and flexible all over.
Press or wring the vest to remove dripping water. Don’t twist hard. This damages the PVA structure. The vest should feel damp and pliable, not soaking wet.
Put the vest on your dog over a light shirt or on their coat. The cooling starts right away through evaporation. You’ll get 2-4 hours of cooling per wetting in typical summer conditions. High humidity shortens this time a bit.
Reactivation during outdoor activities:
The vest starts warming or feels dry to touch? Run it under water again for about 1 minute. No extended soaking needed. Press out excess water and put it back on. This quick refresh takes under 2 minutes.
Internal Reservoir Vests (Premium Models)
These vests feature a sealed water chamber with a fill valve. Water spreads through an internal membrane instead of soaking the whole fabric.
Fill and activation:
Locate the valve cap on the back of the vest. Open it and pour fresh, cool water into the opening. Fill until water reaches the marked level. Close the cap tight to prevent leaks.
Shake and massage the vest. This spreads water from the back compartment to the shoulders and front panels. The internal membrane soaks up the water evenly. This takes about 2-3 minutes.
Reopen the valve and squeeze the vest. Any excess free water should come out. Close the valve tight. The vest reaches about 59°F (15°C) within 5 minutes of activation.
These vests deliver cooling for up to 3 days per single fill. This depends on air temperature and airflow. Once dry, refill through the valve. No special reset required.
Proper Fitting: How to Put the Vest on Your Dog
A cooling vest works by touching your dog’s skin. Air gaps block heat transfer if it’s too loose. Too tight? You restrict breathing or movement. The right fit balances contact with comfort.
Position the Vest
Slide your dog’s head through the neck opening first. Pull the vest forward. The front edge sits just behind the shoulder blades. The chest panel covers the widest part of the rib cage. This is about 2–6 inches behind the front legs. Your dog’s size determines the exact spot.
Small dogs need coverage 2–3 inches behind the front legs. Medium dogs need 3–4 inches. Large breeds need 5–6 inches of clearance. This placement targets areas where blood vessels run close to the skin.
Secure the Straps with the Two-Finger Rule
Fasten the chest straps first. Then do any belly or back straps. Pull each strap snug but not tight. Fit two fingers between the vest and your dog’s body. Check both the neck and chest areas.
The fabric touches your dog’s coat without creating pressure points. Check that the vest doesn’t shift during movement. Watch your dog walk or turn. A well-fitted vest stays centered on the back. It won’t ride up toward the neck or slide backward.
Verify Movement and Breathing
Watch your dog walk a few steps. The vest shouldn’t restrict shoulder movement. It shouldn’t change how they walk either. Have them sit and stand. The chest straps stay in place. They won’t dig into the armpits.
Listen to your dog’s breathing. It should sound normal and relaxed. Panting is expected in heat. But labored breathing means the vest is too tight around the chest. Loosen the straps by one adjustment level if you notice any restriction.
Neoprene vests sit lower on the neck than traditional collars. They rest just above the shoulders rather than at the collar line. This stops the vest from sliding forward. Your dog’s head movement stays normal.
How Long Does a Dog Cooling Vest Stay Effective
Cooling time changes a lot between vest types and weather. Evaporative vests give you 1–3 hours of active cooling in hot, dry weather. Phase-change (PCM) vests using pre-frozen packs last longer. They keep cooling for up to 4 hours per freeze cycle in controlled conditions.
Real-world results often don’t match these numbers. One field test showed an evaporative vest already dry at the end of a single summer walk. The handler had to re-soak it after each outing. High heat, direct sun, and active play speed up water loss. This cuts the cooling time down fast.
Humidity kills evaporative cooling. In muggy conditions, water can’t evaporate from the fabric. The vest stops cooling. Worse, it traps heat against your dog’s body. This creates an insulation effect that raises overheating risk. Check the vest’s dampness level often in humid climates.
Studies show vests work well during exercise and recovery. Military working dogs wearing cooling vests had core temperatures 0.6–0.8°C lower than dogs without vests. This temperature drop lasted for at least 15 minutes after exercise. Some dogs needed over 60 minutes to return to normal after hard activity. Vests sped up this cooling time when still wet and charged.
Watch for these signs your vest needs a refresh: The fabric feels dry or warm to touch. Your dog’s panting picks up. The vest stops feeling cool against your hand. Re-soak evaporative vests right away when dry. Refreeze PCM packs between uses for longest cooling time.
Reactivating Your Dog’s Cooling Vest

Your dog runs through the park on a hot afternoon. The vest works well for the first hour. Then you notice the fabric feels warm and almost dry. Time to reactivate—don’t wait until the vest is bone dry or your dog starts panting hard.
Signs Your Vest Needs Recharging
Touch the vest fabric every 30–45 minutes during active outdoor play. Cool, damp material means the vest still works. Warm or barely-moist areas? Cooling power is dropping fast.
Watch your dog’s behavior too. More panting, seeking shade often, or slowing down during activity? The vest lost its effect. These warning signs appear 10–15 minutes before the vest dries out in direct sun and high heat.
Weather conditions affect cooling speed:
-
Hot, dry weather (85–95°F, low humidity): Reactivate every 60–90 minutes
-
Hot, humid weather (85–95°F, 70%+ humidity): Check every 45–60 minutes; drops faster in humidity
-
Extreme heat (95°F+): Reactivate every 30–45 minutes during active exercise
-
Moderate activity in shade: Cooling may last 2–3 hours per charge
Quick Reactivation Methods
Run the vest under cool tap water or a water bottle for 60–90 seconds while still on your dog. Focus water on the back panel and chest areas. Squeeze to spread moisture through all fabric layers. You don’t need to remove the vest for quick refreshes—this 90-second process restores 70–80% of cooling power right away.
Carry a collapsible water bowl or spray bottle on hikes. Pour water over the vest or spray all sections well. Press the fabric against your dog’s coat to ensure contact. This takes under 2 minutes. It extends cooling by another 60–90 minutes.
For reservoir-style vests:
Locate the fill valve (on the upper back). Pour 4–8 ounces of fresh water into the chamber—exact amount depends on vest size. Close and massage the vest for 30 seconds. This spreads water through internal membranes. These models need fewer reactivations: every 3–4 hours in moderate conditions, or every 90–120 minutes in extreme heat.
Set Up a Reactivation Schedule
Set phone timer reminders based on weather. Don’t guess. A simple schedule stops overheating risk:
-
Timer 1: 45 minutes after putting vest on → Quick fabric check
-
Timer 2: 90 minutes → Full reactivation (soak or refill)
-
Timer 3: Every 60–75 minutes after → Repeat reactivation cycle
Doing intense activity like agility training or beach play? Cut these intervals by 30–40%. Active dogs make more body heat. This drains cooling tech faster.
Between reactivations, give your dog regular water breaks. The vest cools external temperature. But your dog still needs water inside. Plan 5-minute rest stops in shade every 30–45 minutes. Do this alongside vest recharging.
Best Use Scenarios: Dog Cooling Vests That Work
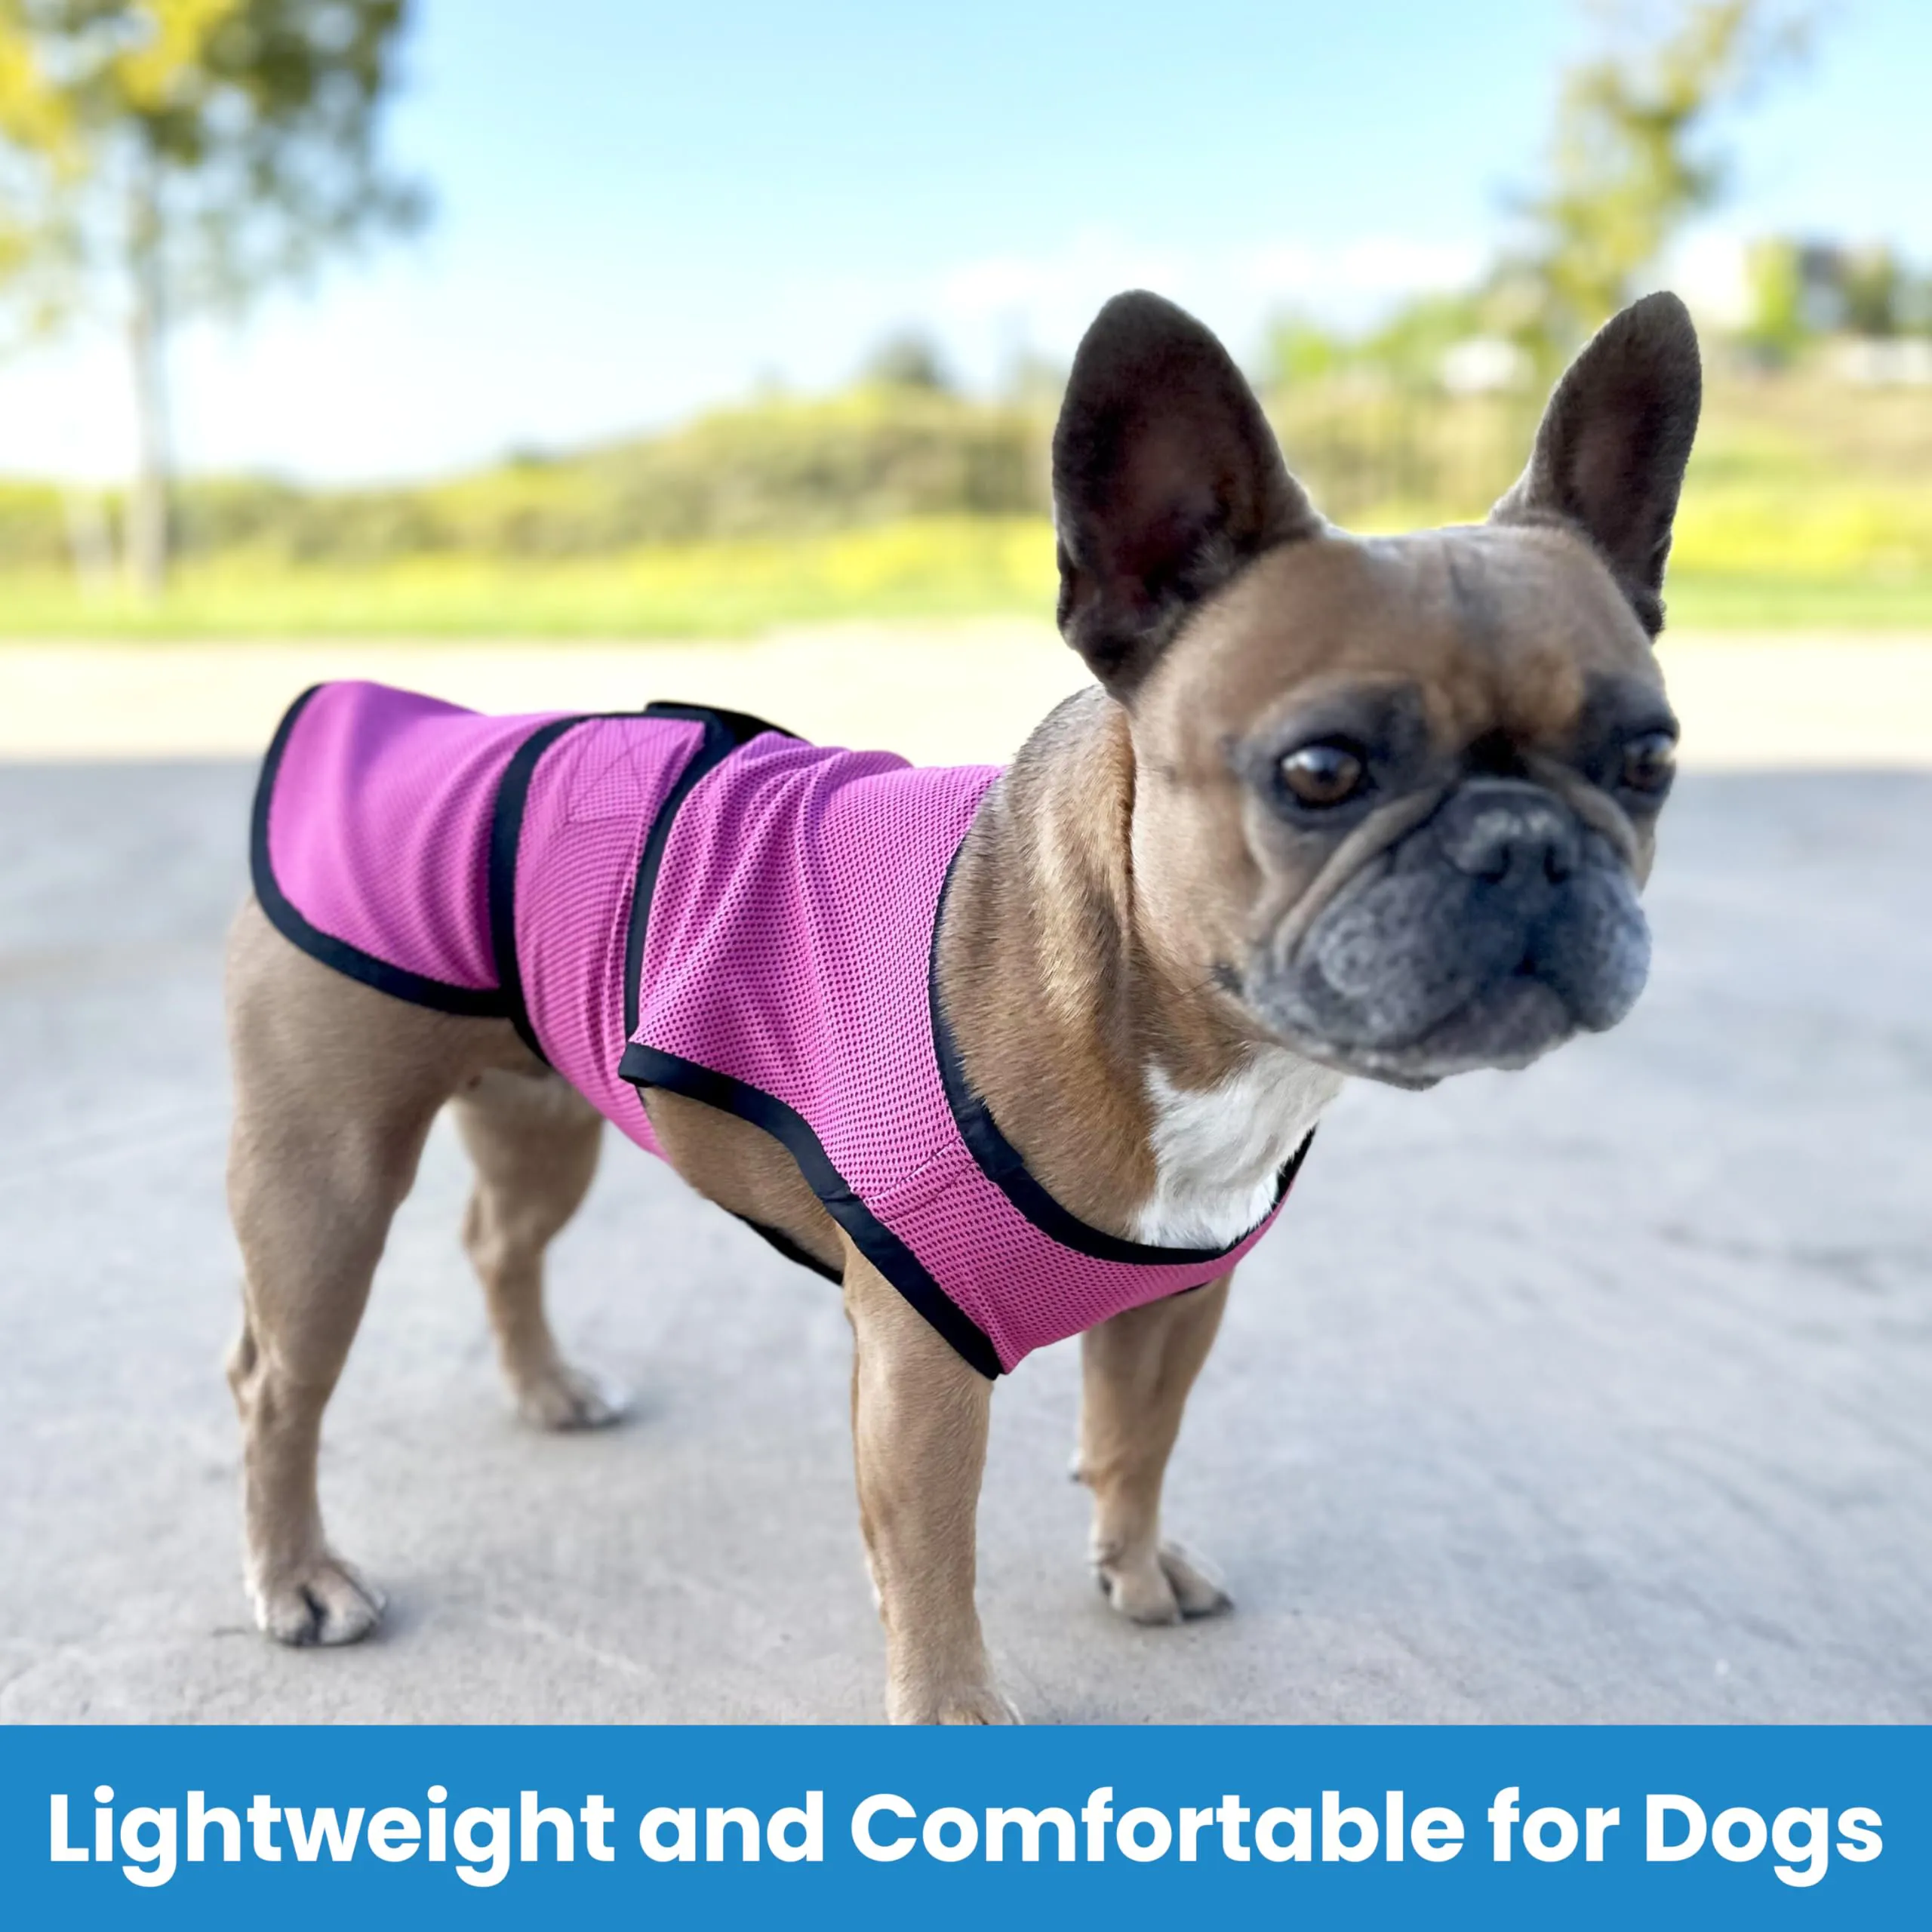
Cooling vests drop temperature most during sustained physical activity in hot weather. Military and working dogs running at moderate intensity hit maximum core temperatures of 41.22°C without vests. Dogs wearing evaporative or PCM vests showed lower peaks—differences of 0.43–0.77°C depending on measurement timing (p = 0.012).
The cooling advantage continues after exercise stops. At the 15-minute recovery mark, dogs with PCM vests measured 0.492°C cooler than unprotected dogs. Evaporative vest wearers showed even better results at 0.769°C lower (p = 0.015 and p = 0.008).
High-Performance Activities and Working Dogs
Planned training sessions, sport competitions, or working shifts lasting over 10–15 minutes benefit most from vest use. Police K9s, search-and-rescue teams, and detection dogs wearing evaporative cooling vests showed much slower core temperature rises. They kept safe working capacity for longer periods in direct sun and high heat.
University of Florida research found dogs often needed over 60 minutes to cool down after intense summer exercise. Rectal temperatures climbed up to 2.5°C higher than core readings. Cooling vests shortened this dangerous recovery window with passive shade available.
Climate and Environment Matching
Hot, dry climates produce the strongest cooling effect. Evaporative vests work best where dry air absorbs moisture from the fabric. Arid or semi-arid regions with at least mild airflow—a breeze or walking pace—create ideal conditions.
Humid, muggy weather reverses the benefit. Slow or stopped evaporation means wet fabric traps heat against your dog’s body. This worsens overheating risk instead of preventing it. Save evaporative vests for low-to-moderate humidity days unless you have strong airflow or indoor climate control.
Specific Activity Guidelines
Long summer hikes (30–60+ minutes) on exposed trails in dry heat—Pre-soak the evaporative vest. Re-wet every 20–45 minutes as the fabric dries. The exact timing depends on temperature, sun exposure, and your dog’s activity level.
Running or biking with your dog in temperatures above 25–30°C—Put the vest on 5–10 minutes before starting. Soak it without dripping water. Watch for exhaustion signs throughout the activity.
Field work, herding, or sport trials with repeated work cycles—Keep the vest on during active sets. Remove and re-cool it during rest breaks. This approach helps dogs that otherwise exceed 40.5–41°C core temperature during summer work.
Outdoor waiting periods at trial staging areas or events—Use the vest to limit heat gain with your dog crated or tethered. This works best in hot, dry conditions with some breeze. The vest reduces both surface temperature and solar heating during slow movement.
Travel or outdoor activities like ferries, cafes, or markets—The vest helps manage strong sun exposure at slow walking pace with airflow. Many vests include UPF 50+ UV protection, blocking about 98% of harmful UV rays while providing shade and evaporative cooling.
Choosing the Right Size and Adjusting Fit
Most dog cooling vest failures happen because of wrong sizing at purchase. The vest rides up during play. It creates pressure points under the legs. Or it leaves key cooling zones exposed. This happens because the size selection ignored your dog’s breed-specific body shape.
Measure Your Dog’s Key Dimensions
Get a soft fabric measuring tape before you browse size charts. You need three core measurements for accurate vest sizing:
Chest/Girth circumference – Wrap the tape around the widest part of your dog’s rib cage, about 2–3 inches behind the front legs. Pull the tape snug but not tight. Record this measurement in inches or centimeters. This is your primary sizing number.
Back length – Measure from the base of the neck (where a collar sits) to the base of the tail. Don’t include the tail itself. This tells you if the vest will cover the full torso or stop short at the lower back.
Neck circumference – Measure around the neck at the collar line. This prevents the neck opening from being too tight or loose during activity.
Write these numbers down before comparing size charts. Most manufacturers start with chest girth for their Small/Medium/Large categories. Then they adjust for back length within each size range.
Match Measurements to Size Charts with Adjustment Room
Compare your dog’s chest measurement to the vest’s size chart. Choose the size that puts your measurement in the middle 50% of the range—not at the extreme top or bottom.
Example: Your dog measures 22 inches chest girth. The Medium range is 20–24 inches. The Large range is 24–28 inches. Pick Medium because 22 falls in the middle. This leaves room for strap adjustment on either side.
Border-case dogs need special consideration. A 24-inch chest sits right between Medium and Large. Check your dog’s build:
-
Lean, athletic breeds (Whippets, Border Collies, young Labs): Size down to Medium for snugger contact
-
Barrel-chested or stocky breeds (Bulldogs, Pit Bulls, older dogs): Size up to Large for breathing room and coat coverage
Adjustable straps handle minor size differences. But they can’t fix a vest that’s a full size off.
How to Clean and Maintain Your Dog Cooling Vest
Clean your vest often. This keeps it cooling well and stops bacteria from sweat, mud, and outdoor mess. Most cooling vests can go in the washing machine. Just prep them right first.
Pre-Wash Preparation
Get rid of loose hair, dirt, and sand before washing. Shake the vest outside. Grab a lint roller or rubber gloves to pull off stuck-on hair. Static makes hair stick to rubber. Dogs that shed a lot need this step. Skip it and hair clogs your machine. Plus, the vest won’t get as clean.
Close everything before washing: Velcro straps, snap buttons, buckles, and fill valve caps. Open Velcro picks up lint. It loses its grip too. Loose buckles hit the drum. They can damage the vest and your machine. Loosen drawstrings on vests with internal reservoirs. This lets water reach the inner fabric layers.
Machine Washing Guidelines
Pick the gentle or delicates cycle. Use cool to lukewarm water (30–40°C / 86–104°F maximum). Hot water breaks down PVA material. It ruins the cooling membranes inside. Choose mild, pet-safe detergent. Avoid bleach, fabric softener, or strong scents. These chemicals damage the cooling tech. They also leave residue that can irritate your dog’s skin.
Turn the vest inside out if it has logos or reflective strips. Put it in a mesh laundry bag. This cuts down on friction damage. It also stops Velcro from catching other items. The bag keeps webbing and straps from stretching.
Drying and Storage
Never tumble dry water-activated cooling vests. High heat melts PVA material. It kills the cooling function. Squeeze out extra water gently. Don’t wring or twist hard. This breaks the internal structure. Wrap the vest in a dry towel to soak up moisture. Then air dry it flat or hang it in a spot with good airflow. Keep it away from direct sunlight. UV rays fade the fabric. They also weaken cooling materials over time.
Storage counts too. Keep the vest in a cool, dry spot. Damp places grow mold. Extreme heat warps PCM gel packs. Fold vests gently or hang them. This stops creases in the cooling panels.
Troubleshooting: Common Problems and Quick Fixes
Your cooling vest arrives and nothing goes as planned. The fabric won’t soften. Water pools under your dog. The straps won’t stay tight. Most issues come from three mistakes: you didn’t activate it right, the fit is wrong, or the cooling ran out.
Vest Stays Stiff After Soaking
Problem: PVA material feels stiff and board-like even after several minutes in water.
Quick diagnosis: Touch the fabric. Dry spots feel hard and crinkly. Wet sections turn soft and bendy. Check if water reached every panel. Pay attention to thick seams and corners.
Fix: Submerge the entire vest for 3–5 minutes in lukewarm water (not cold). Massage thick areas while underwater. This forces water into dense PVA layers. Fold and unfold the vest several times during soaking. The material should feel like wet chamois leather. Very stiff vests from long storage may need 8–10 minutes on first use.
Vest Drips Water Non-Stop
Problem: Water runs off your dog’s coat and creates puddles indoors. The vest feels heavy and soaked.
Quick diagnosis: Squeeze a corner. Water streams out with little effort. The fabric looks shiny and dark all over.
Fix: Wring the vest after soaking. Twist with care to avoid damaging seams. Press between two dry towels to absorb excess. The goal: damp but not dripping. The fabric should feel moist to touch but leave no wet marks on your hand. Too much water wastes cooling power. Plus, it makes your dog uncomfortable.
Cooling Stops After 20–30 Minutes
Problem: The vest feels warm and dry much faster than expected. Your dog pants hard despite wearing it.
Quick diagnosis: Touch the back and chest panels. They feel room temperature or warm. No dampness remains.
Fix: You’re in high heat with direct sun or your dog is very active. Both drain cooling fast. Re-soak every 30–45 minutes in these conditions instead of waiting 90+ minutes. Carry a collapsible water bowl or spray bottle on walks. Quick refresh: pour water over the vest and squeeze to spread it around. Takes under 90 seconds and restores 70% cooling power.
Prevention: For extreme heat (35°C / 95°F+), pre-chill the water used for soaking. Use ice water or refrigerated bottles. This extends cooling time by 20–30 minutes per activation.
Vest Slides Backward or Twists During Activity
Problem: The vest shifts toward the hindquarters or rotates to one side. This happens during runs or play.
Quick diagnosis: The neck opening sits too loose or chest straps need tightening. Watch your dog move. The vest travels more than 1–2 inches from starting position.
Fix: Re-adjust while your dog stands still. Tighten the chest straps first using the two-finger rule. You want snug contact without pressure. Then secure any back straps or those around the midsection. The vest should stay centered on the shoulder blades through full movement. Sliding continues? Size down one level on your next purchase. The current vest is too large for your dog’s build.
Band-aid solution: Add a lightweight band around the midsection (separate accessory) that connects to the vest’s D-rings. This keeps the vest from sliding backward during intense activity.
Reservoir Vest Won’t Fill or Leaks Water
Problem: Water doesn’t enter the fill valve, or it leaks out right after closing the cap.
Quick diagnosis: Remove the valve cap. Look inside the opening for blockages. Check for fabric, debris, or a stuck internal membrane. Tilt the vest and watch where water escapes.
Fix: Flush the valve with a strong water stream to clear blockages. The internal membrane stuck? Massage the area around the valve opening to release it. For leaks: check the O-ring inside the valve cap. It should sit flat and clean. Wipe both the cap threads and vest threads dry before closing. Tighten well but don’t over-crank. This damages the seal.
Replacement: O-rings wear out after 50–100 uses. Most manufacturers sell replacement valve cap kits for $5–8. Keep one spare in your gear bag.
Ice Pack Cooling Vest vs Evaporative Vest: Usage Differences
Two technologies dominate the dog cooling vest market: ice pack systems and evaporative designs. Each uses a different cooling method. How they work affects which vest you buy and how you use it.
How Each Type Cools Your Dog
Ice pack vests hold frozen gel packs or PCM (phase-change material) inserts in pockets around your dog’s torso. Cooling happens through direct contact. Heat transfers from your dog’s body to the cold packs. Think of it like applying an ice pack to a sore muscle. The cold surface pulls heat away through conduction.
Evaporative vests work by soaking fabric in water. Water evaporates from the material. This releases heat into the air. The process creates a cooling effect on your dog’s skin beneath the vest. You need airflow and low humidity for this to work. No evaporation means no cooling.
Expected Cooling Duration in Real Conditions
Ice pack vests deliver 1.5–3 hours of cooling per freeze cycle. Field tests in San Antonio happened during 102°F heat with 30% humidity. Results showed ice pack vests lasted 2.2 hours using three frozen packs. Commercial PCM vests like the Ergodyne 6260 maintain 64°F for up to 2 hours. After that, packs warm up.
Evaporative vests run 2–4 hours per soaking in ideal conditions. The same Texas field test recorded 3.0 hours of cooling after a 20-minute pre-soak in low humidity. But real-world performance changes drastically. ActiveMSers cooling vest testing found evaporative models lasted 30 minutes to a couple of hours. Weather makes the difference. Direct sun and activity drain water fast. High humidity stops evaporation.
The advantage? Evaporative vests recharge anywhere with water. Ice pack vests need a freezer or ice-filled cooler between uses.
Climate Determines Which Vest Works
Ice pack vests perform the same no matter the humidity. They work the same in dry Arizona heat or muggy Florida summers. Cooling power depends on pack temperature and ambient heat—not moisture in the air. Choose ice pack systems above 60–70% humidity. Also pick them for mixed weather conditions.
Evaporative vests fail in humid climates. OutdoorLiteGear testing confirms this. Evaporative vests work poorly above 60–70% humidity. ActiveMSers states: evaporative vests “should be worn in low humidity (arid/desert) environments” to work right. High moisture content stops water from evaporating off the fabric. The wet vest traps heat instead of removing it.
Desert regions work great for evaporative cooling. So do motorcycle rides or outdoor work with steady breeze. Humid coastal areas or still, muggy days? Ice pack vests deliver reliable results.
Weight and Portability Trade-Offs
Ice pack vests carry more weight. Multiple frozen packs add bulk around your dog’s body. One MS patient using a cooling vest for personal heat management loaded 9 ice packs. Two per side and the rest across the back. Even “lightweight” commercial PCM vests marketed as 30–60% lighter than competitors still outweigh evaporative options. Pack mass creates the difference.
Evaporative vests are among the lightest cooling solutions. Absorbed water is the main thing adding weight to the base fabric. This makes them ideal for active dogs. Great for long hikes too. Perfect for situations where every ounce matters. Small or senior dogs tolerate the lighter load better during extended wear.
Recharging Steps During Outdoor Activities
Ice pack vests require advance planning. You can’t recharge them on a trail or at the park. The process demands:
-
Remove all ice or PCM inserts from vest pockets
-
Place packs in a freezer or ice water cooler until frozen
-
Wait 20–45+ minutes (depends on pack size and freezer temperature)
-
Reinsert frozen packs into vest
Field workers in the Texas study carried spare frozen packs in coolers. They swapped out warm ones during shifts. Without backup packs or ice access, cooling stops once packs warm up.
Evaporative vests recharge with just water. No freezer needed:
-
Soak vest in cool water for 5–20 minutes (Texas test used 20-minute soaks)
-
Wring or press with a towel to remove dripping water
-
Put the damp vest back on your dog
-
Repeat once the fabric dries out
Carry a water bottle, find a drinking fountain, or use any available water source. Re-soaking takes under 5 minutes. You can refresh the vest multiple times throughout the day without special equipment. This suits hiking, beach trips, or outdoor events. Places where you can’t access a freezer.
Conclusion
Learn how to use a dog cooling vest and summer becomes safe fun for your dog. The process is simple: soak, squeeze, and secure. It takes under five minutes. Your dog then gets hours of cooling through water evaporation. Proper vest fit matters. It ensures the vest touches your dog’s skin for best cooling. Reactivate the vest every 2-4 hours to keep preventing dog heat stroke during long outdoor time.
Your dog can’t tell you they’re too hot. But you can protect them with the right tools and know-how. Hiking trails, outdoor events, backyard play—a good cooling vest helps with dog temperature control in all these spots.
Want to keep your dog cool this summer? Check out our cooling vests for different breeds and activities. Each comes with sizing guides and a 30-day guarantee. Smart choices keep your dog safe—make yours today.