
That cooling neck wrap that saved you during last summer’s heat wave? It needs a good cleaning.
Maybe you’ve noticed a musty smell. Or visible sweat stains piling up. Or the cooling effect just isn’t what it used to be. Proper care keeps your favorite heat-relief gear working its best.
The good news: cleaning your cooling neck wrap is simple. You just need the right techniques.
Different materials need different care. PVA, microfiber, and gel-based wraps each have their own cleaning methods. We’ll show you which one works for yours. Plus, you’ll learn the drying process that keeps the cooling power strong.
You’ll find out how to clean cooling neck wrap products well. We’ll cover how to get rid of stubborn odors. You’ll learn to stop bacterial growth. And you can add years to your wrap’s life.
These simple care steps keep your cooling gear fresh and clean. Your wrap stays ready to go whenever the temperature climbs.
What You Need Before Cleaning Your Cooling Neck Wrap
Get the right supplies ready. This protects your cooling gear from damage. Here’s what you need for a proper clean.
Essential Cleaning Supplies
Start with these basic items:
-
Lukewarm water in a basin or sink (never hot water)
-
Mild detergent for delicates – just a small amount prevents excess suds
-
Soft cloth or sponge for gentle scrubbing
-
Soft-bristle brush for stubborn spots
-
Clean towels to press out excess water
-
Mesh laundry bag if your wrap is machine-washable
-
Light disinfectant for wraps used during intense workouts
Items That Damage Cooling Wraps
Keep these away from your cooling neck wrap:
-
Bleach and harsh chemicals ruin the cooling technology
-
Fabric softeners coat the fibers. This cuts down cooling power.
-
Tumble dryers warp shapes and damage gel inserts
-
Irons – heat ruins the cooling materials
Pre-Cleaning Checklist
Before you start washing, complete these steps:
Check the care label for care instructions. You’ll see symbols like hand-wash icons, air-dry flat marks, and no-bleach warnings.
Inspect for damage. Look for tears, punctures, or loose seams. Check gel-filled wraps for leaks. Examine clay bead types for broken beads inside the fabric.
Identify your wrap material. PVA wraps stiffen once dry. They measure around 4 inches by 29 inches. Microfiber stays soft. Gel wraps have distinct compartments you can feel.
Pre-soak non-machine types in clean water for one minute. This activates the material before cleaning.
Hand Washing Your Cooling Neck Wrap: Step-by-Step Guide
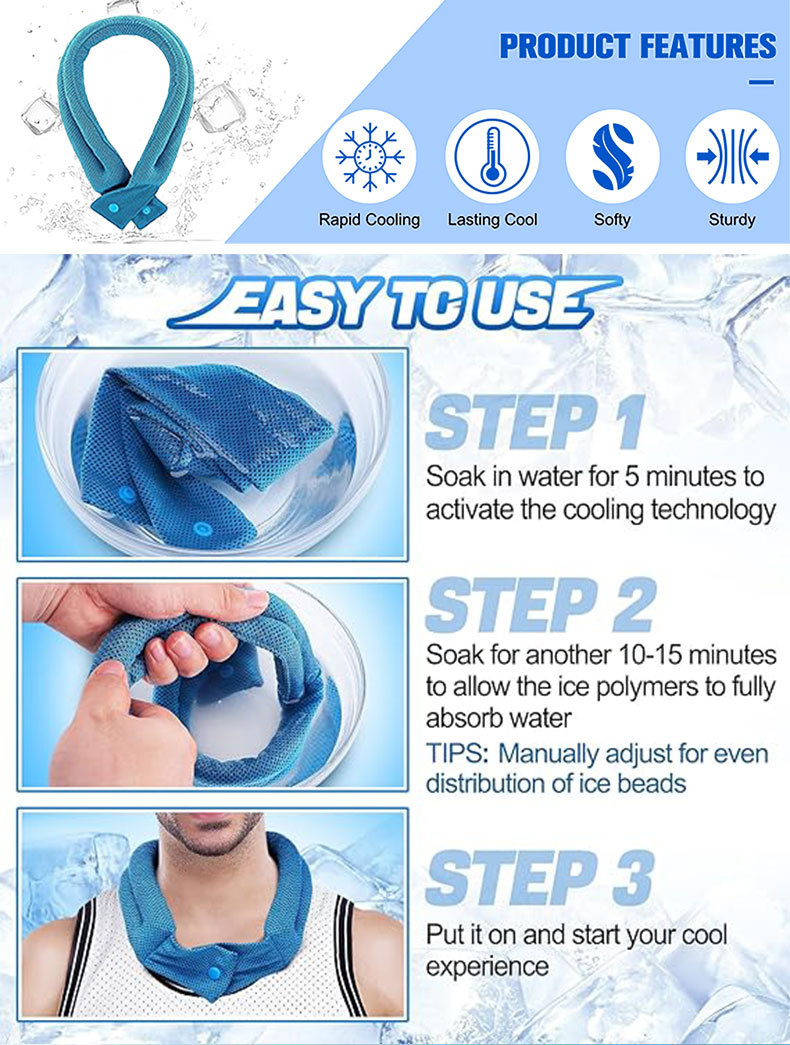

Hand washing gives you full control over the cleaning process. You’ll protect the delicate cooling technology. Plus, you remove dirt and bacteria.
Follow these steps for a thorough, safe clean.
Basic Hand Washing Process
Step 1: Pre-soak your wrap. Fill a basin with cool water at 30°C or below. Submerge your cooling neck wrap. Let it hydrate for one minute. This step activates PVA materials. It also prepares all types for cleaning.
Step 2: Prepare the cleaning solution. Use fresh cool water in a clean basin. Add a small amount of mild detergent – about one teaspoon per liter. Mix until sudsy. Too many bubbles mean you’ve added too much soap.
Step 3: Wash with care. Submerge the wrap in the soapy water. Squeeze and press the fabric. Move your hands along the entire length. Focus on areas that touch your skin most – the neck contact zone collects the most sweat and oils. Never scrub hard or twist the material. Keep the total wash time under 3 minutes. This prevents material breakdown.
Step 4: Rinse well. Drain the soapy water. Refill with clean cool water. Press the wrap to release trapped soap. Repeat this rinse cycle two to three times. Continue until the water runs clear. No soap residue should remain.
Material-Specific Techniques
For PVA and crystal-type wraps: These materials need extra care during sanitization. After your initial soak, check if you’ve used the wrap during heavy sweating. Add a light disinfectant to the wash water. This kills bacteria without harsh chemicals. Keep the 3-minute wash limit strict. Longer exposure weakens the crystal structure.
For gel-type cooling wraps: Remove all gel packs or beads from the outer cover first. Wash the fabric shell using the steps above. Never submerge gel inserts in water or detergent. The gel compartments stay sealed. Wipe them with a damp cloth if needed.
Handling Stubborn Stains
Sweat stains and discoloration need targeted treatment. Create a pre-treatment solution with light disinfectant and cool water. Dab this onto stained areas. Let it sit for 30 seconds. Then proceed with the regular hand wash routine. The disinfectant breaks down organic stains. It sanitizes the fabric at the same time.
For tough spots, use a soft-bristle brush with circular motions. Apply minimal pressure. The goal is stain removal, not fabric damage.
Machine Washing Cooling Neck Wraps: What Works and What Doesn’t

Most cooling neck wraps can’t go in your washing machine. The machine action breaks the cooling tech inside. But some products can handle careful machine washing.
Which Cooling Wraps Can Go in the Machine
Weighted neck wraps like Bearaby Warmables work fine in the machine. They’re built different from standard cooling wraps. The weighted beads survive gentle cycles.
Standard PVA cooling neck wraps need hand washing. Same goes for gel-filled models, crystal bead types, and cooling towels. Machine washing voids the warranty. It ruins the cooling materials for good.
Heated neck wraps should never see a washing machine. The heating parts inside break down from water and machine movement.
How to Machine Wash Compatible Wraps
Here’s the right way to wash the few machine-safe cooling neck wraps:
Step 1: Use a garment bag. Put your wrap in a mesh laundry bag. Zip it closed. This stops twisting and snags during the wash.
Step 2: Pick cold water. Set your machine to the coldest setting. Hot or warm water breaks down cooling materials. Cold water keeps the wrap working right.
Step 3: Add mild detergent. Use a small amount of plant-based cleaner. Heavy-duty cleaners leave buildup that hurts cooling power.
Step 4: Run the gentle cycle. Pick delicate or hand-wash mode if you have it. Skip heavy-duty or normal cycles. Less agitation means less damage.
Step 5: Air dry. Take it out of the bag right after washing. Don’t use a dryer. Lay it flat on a clean towel somewhere with good air flow. Give it 24 hours to dry.
What to Do After a Washing Mistake
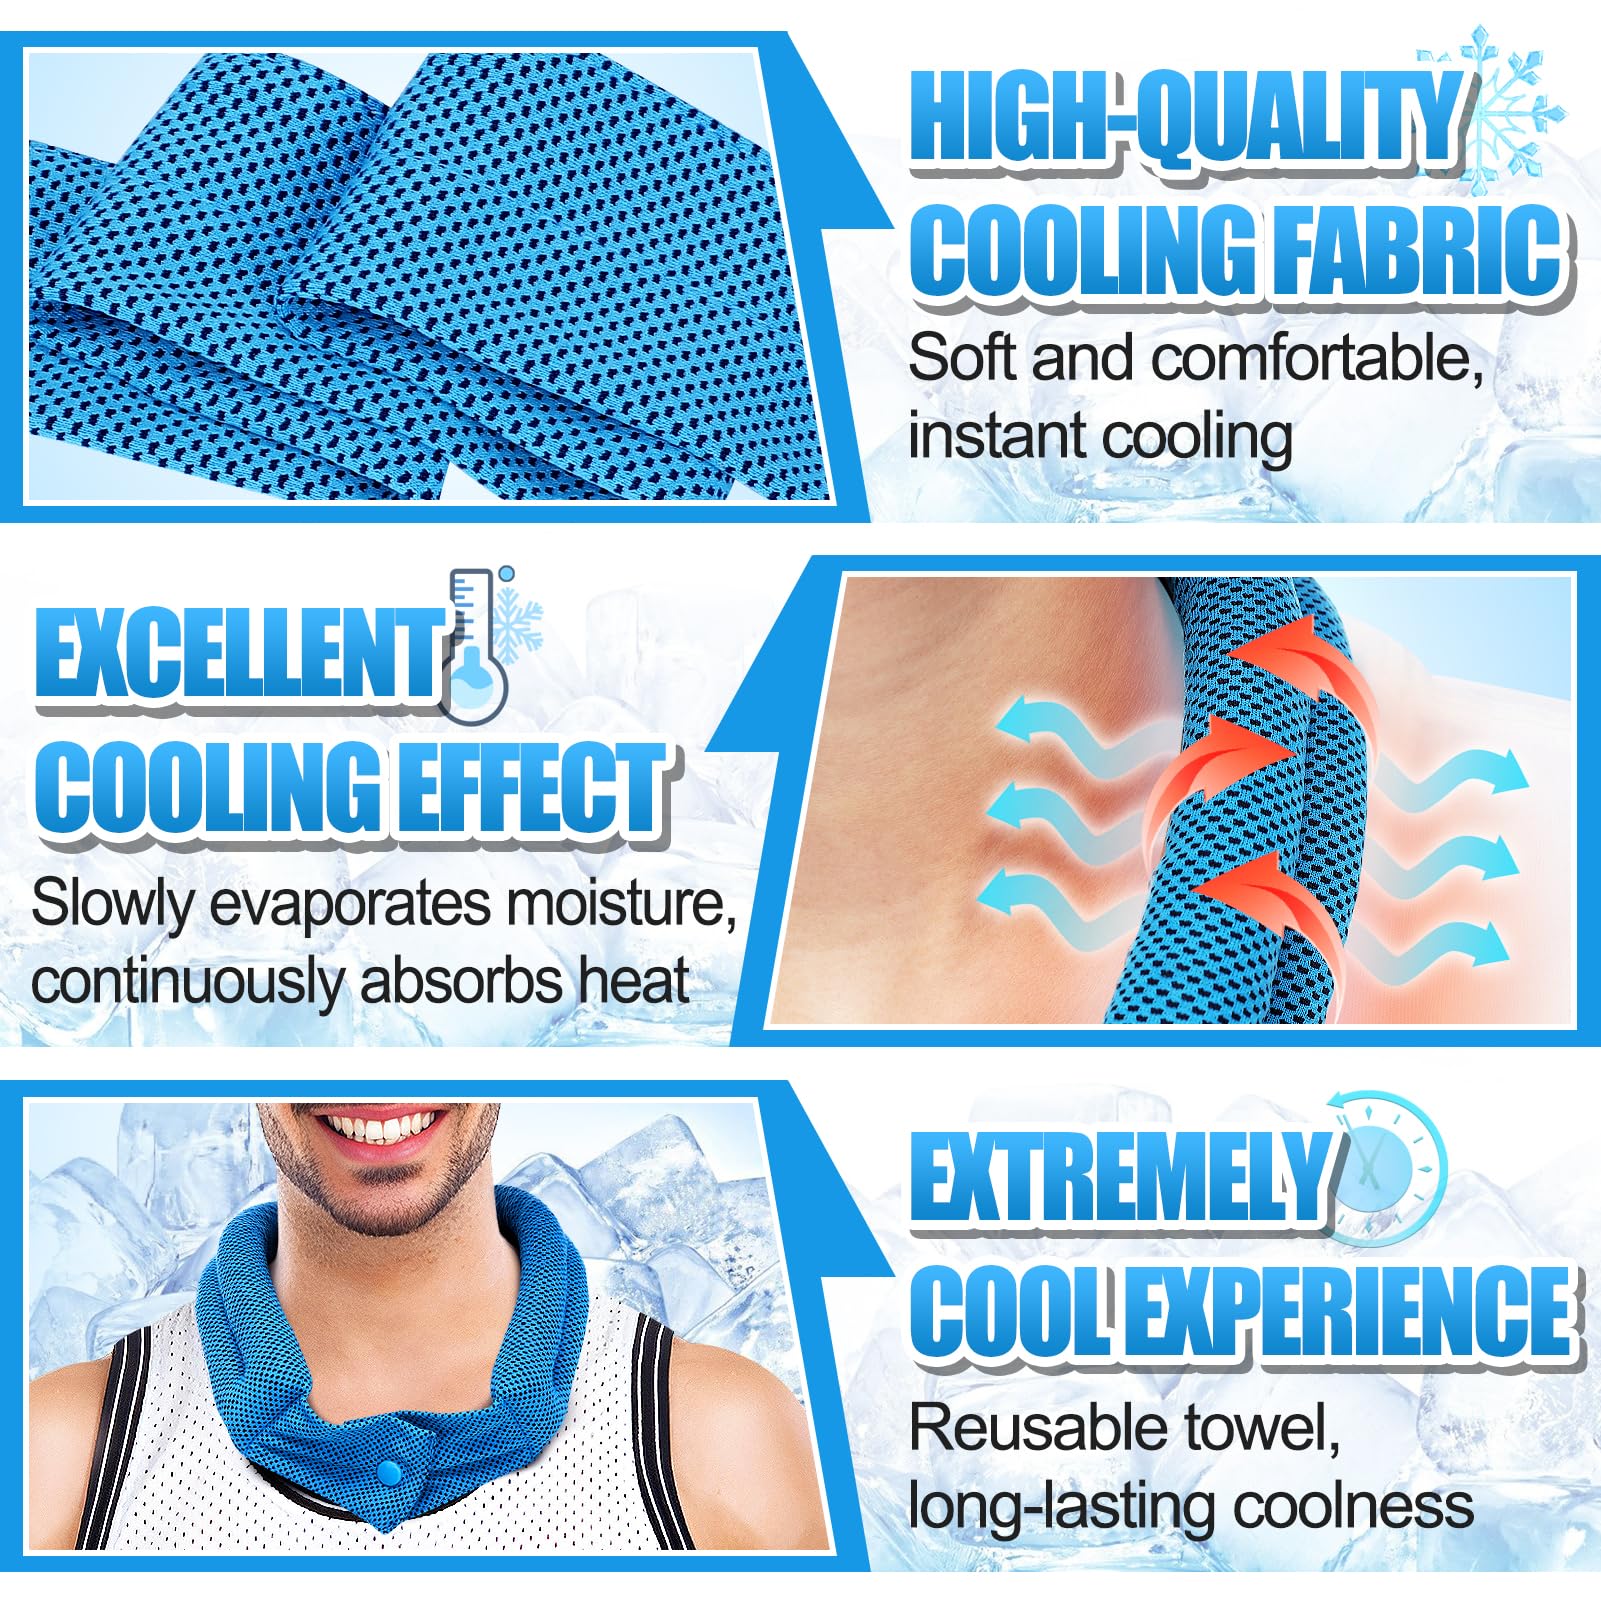
Machine washed a hand-wash-only wrap by mistake? Act fast. Pull it out right away if it’s still wet. Check for tears, leaking gel, or broken beads. You can’t fix a damaged wrap. Your best bet? Always check the care label before washing.
How to Dry Your Cooling Neck Wrap Right
Dry your cooling neck wrap the right way. This matters as much as washing it. The wrong method kills the cooling tech inside. Your wrap stops keeping you cool.
Air Drying: The Best Method
Lay flat on a clean towel. Find a spot with good airflow away from direct sunlight. Spread your cooling neck wrap flat on a dry towel. This stops the material from stretching or warping. The flat position dries the entire surface evenly.
Keep away from heat sources. Never place your wrap near radiators, heating vents, or sunny windows. Heat breaks down the cooling crystals inside PVA wraps. Gel compartments can melt or separate. Heat damage kills your wrap’s cooling power for good.
Allow 24-48 hours drying time. PVA materials take longer to dry than regular fabric. Microfiber wraps dry faster – within 12-24 hours. Check for dampness by touching the center and seams. These spots hold moisture the longest.
Speed Up Drying Without Damage
Use a fan for air circulation. Point a regular household fan toward your drying wrap. Keep the fan on low or medium speed. This cuts drying time by 30-40% without adding heat. Moving air pulls moisture away from the fabric faster than still air.
Press out excess water first. Before laying flat, sandwich your wrap between two clean towels. Press down hard – don’t twist or wring. This removes trapped water from the fibers. Less water means faster drying time.
Hang in spaces with good airflow. For microfiber types, you can drape the wrap over a drying rack. Make sure air flows on both sides. Skip clothespin clips that create pressure points. These marks become weak spots over time.
Never Do These Things
Skip the tumble dryer. Machine heat warps gel packs. It melts cooling crystals. The spinning action twists and damages seams. Even low-heat settings cause harm you won’t see until the wrap stops working.
Don’t iron or steam. High heat ruins the cooling materials at a molecular level. Your wrap turns into regular fabric. The cooling effect dies for good.
Avoid direct sunlight. UV rays break down synthetic fibers. Colors fade. The fabric gets brittle. Your wrap’s life drops from years to months with regular sun exposure.
How to Remove Odors and Sanitize Your Cooling Towel
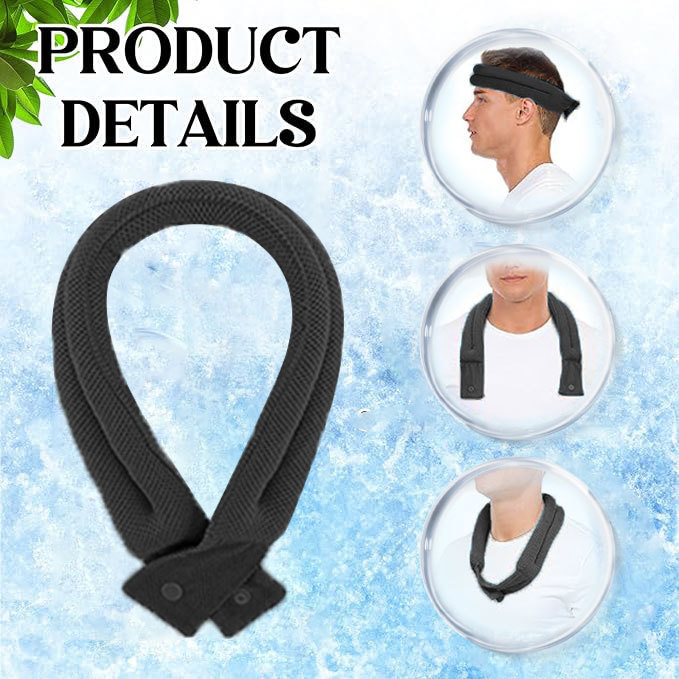
Bacteria cause that bad smell in your cooling neck wrap. Moisture sits in the fabric. Bacteria grow fast. Humid areas above 60% see big bacterial increases on towels and wraps. Cooling wraps have thick layers. This makes bacteria harder to remove than regular fabric.
Stop the odor before it starts. Wash your wrap right after each use. Heavy sweating needs washing right away. Sweat odors sink deep into fibers. Dry it fully between uses. This stops mold and bacteria growth. Keep your storage area between 30-50% humidity for best results.
Natural Deodorizing Methods That Work
White vinegar kills odor-causing bacteria. Run your wrap through a hot water wash with 1 cup of white vinegar. Skip the detergent for this cycle. The acetic acid at 0.75% concentration reduces P. aeruginosa, E. coli, and S. hominis by more than 7 log10. S. aureus drops by 5.8 log10. Follow with a second hot water wash using baking soda. This removes any vinegar smell.
Baking soda removes odors. Replace your regular detergent with baking soda in a hot water wash. This works well for routine odor control. No harsh chemicals needed.
Lemon juice gives gentle deodorizing. Add fresh lemon juice to your wash cycle as a natural choice. The citric acid breaks down odor compounds. You get a fresh scent.
Activated-oxygen bleach beats chlorine. Use AOB in cold water below 40°C. Research shows it beats chlorine bleach against Mycobacterium and enteric viruses with detergent. This works better for cooling wraps that can’t handle hot water.
Deep Sanitization for Problem Odors
Stubborn smells need stronger treatment. Hot water between 40-60°C (104-140°F) with bleach or AOB kills tough germs. Temperatures above 60°C kill 99.9% of bacteria. Machine drying works well too. S. aureus drops by 3.23 log10 at 46°C for 20 minutes on cotton-poly blends. E. coli decreases by more than 4.16 log10 at 55°C for 28 minutes on cotton.
Mix enzyme detergents with hot water for maximum bacteria kill. Wraps that smell even after washing need a vinegar and baking soda mix. Soak the wrap first. Then wash. Always rinse well after any treatment.
Thick cooling towels need extra attention. Bacteria survive regular hot wash and dry cycles in dense materials. Extend your drying time. Make sure every part of the wrap gets fully dry.
What Not to Do
Strong perfumes hide odors. They don’t kill bacteria. They create skin irritation risks. Too much disinfectant damages your wrap’s materials. PVA and foam types found in cooling towels get damaged easily. High chlorine loses power with detergent pH and dirt buildup. Too much use breaks down fabric and irritates skin.
Cold water alone fails to kill germs. The median US household water temperature sits at 14.4°C. This is too cold to kill enteric and dermal bacteria. Partial drying lets bacteria grow back within hours.
Check your cooling towel’s material first. Many contain PVA or foam with alcohol-water-aloe-menthol blends. The alcohol content (3.2-26.7% volume) creates the cooling effect. Some makers suggest boiling twice before first use for sterilizing. A slight smell is normal with new wraps. Hot water washing works if your care label allows it. Always test the maximum safe temperature.
Cleaning Frequency: How Often Should You Wash Your Cooling Neck Wrap
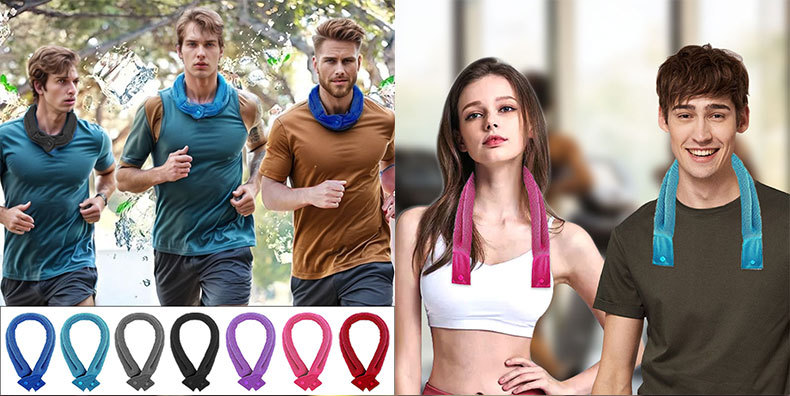
Your cooling neck wrap needs cleaning based on how you use it, not a fixed schedule. Sweat, bacteria, and dirt build up at different rates. Your activity level decides the pace.
Daily Wear Situations
Clean your wrap after each use if you sweat while wearing it. Even light sweat leaves salt residue and oils on the fabric. These break down the cooling materials over time. You can skip a day if you wore it indoors with little sweating.
Exercise and Fitness Use
Hard workouts need more frequent cleaning. Wash your cooling neck wrap right after every gym session or outdoor run. Heavy sweat creates the perfect spot for bacteria to grow. Bacteria grow fast within hours on damp fabric. Reusing a sweaty wrap without washing raises the risk of spreading germs.
Outdoor Work Conditions
Construction, landscaping, and other outdoor jobs expose your wrap to dirt and constant wetness. Dampen it with fresh water throughout your workday to keep it cool. Clean it at the end of each shift. Store it in a spot with good airflow between uses. This stops mildew from forming overnight.
Signs You Need to Clean Now
Don’t wait for your regular schedule if you notice these warning signs:
-
Visible dirt or stains on the fabric surface
-
Musty or mildew smell even when dry
-
Weaker cooling effect – crystals feel flat or gel packs don’t stay cold as long
-
Skin irritation from soap residue or bacteria buildup
Re-soak crystal types for 5-10 minutes if cooling drops. If that doesn’t help, you need a full wash.
Storage Best Practices to Extend Lifespan
Proper storage adds years to your cooling neck wrap’s working life. Most wraps fail because of storage mistakes, not regular use.
Store in a Cool, Dry Location
Your wrap’s materials need the right temperature. Keep your cooling neck wrap between 15–25°C (59–77°F). Higher temps break down PVA crystals and gel compounds faster. Every 10°C rise cuts your wrap’s lifespan by half.
Pick the right storage spot. A bedroom drawer or hallway closet works well. Skip these locations:
-
Bathrooms – humidity above 60% grows mold on fabric
-
Car glove boxes – summer temps hit 60°C and destroy cooling materials
-
Direct sunlight areas – UV rays degrade synthetic fibers within months
-
Near heat sources – radiators and vents dry out materials
Maintain 40–50% humidity in your storage area. Too dry cracks PVA materials. Too wet breeds bacteria.
Use Protective Storage Containers
Seal your wrap in a breathable bag. Cotton storage bags or mesh pouches work best. They block dust while letting moisture escape. Plastic bags trap dampness and create mold growth.
Keep gel wraps flat. Store them in a shallow container or lay flat in a drawer. Folding creates weak points in gel compartments. These weak points can leak later.
Separate from other items. Don’t pile heavy objects on top. Pressure damages the cooling structure.
Check Your Wrap Every 2-3 Months
Regular inspection catches problems fast. Look for these warning signs:
-
Discoloration or dark spots – indicates mold starting
-
Hardened areas in PVA wraps – shows material breakdown
-
Lumpy or separated gel – signals compartment damage
-
Fabric thinning at fold points – means you need to change storage position
Test the cooling effect every few months. Activate your wrap and check if it still reaches the same coolness level. Performance drops? Time to clean or replace it.
Replace When Performance Drops
Most cooling neck wraps last 1-3 years with proper care. Replace yours once cooling power drops below 50% of original performance. This applies even after cleaning. Visible tears or gel leaks? Replace right away for hygiene and safety.
Troubleshooting Common Cleaning Issues
You might face unexpected problems with your cooling neck wrap. These issues stem from material reactions, water quality, or cleaning product choices.
Wrap Still Smells After Washing
Lingering odors mean bacteria survived your cleaning cycle. The fabric’s thick layers trap moisture. They create bacterial hiding spots. Standard washing doesn’t always go deep enough.
Solution: Sanitize your wrap with proper contact time. Mix a light disinfectant solution. Submerge the wrap for 4-10 minutes minimum. The surface must stay wet during this period. Bacteria need this full contact time to die. Shorter exposure leaves germs alive. Rinse well afterward. Then repeat your regular wash cycle. Air dry for the full 24-48 hours. Check that every part feels dry. Pay attention to the center and seams.
Wrap Won’t Reactivate After Cleaning
Your PVA or crystal wrap feels stiff. It won’t soften in water. This happens from soap residue coating the crystals. Or you used water that’s too hot.
Solution: Soak the wrap in clean, cool water for 15-20 minutes. Change the water twice during soaking. This flushes out trapped detergent. The wrap still won’t activate? The crystals may have broken down from heat or harsh chemicals. Test by submerging in ice water for 5 minutes. No softening means permanent damage. Time to replace the wrap.
White Residue or Streaks Appear
Chalky white marks on your wrap come from hard water minerals. Or excess detergent.
Solution: Rinse the wrap three times minimum in clean water. Add 1/4 cup white vinegar to the final rinse. Vinegar dissolves mineral deposits. It won’t harm cooling materials. For future washes, cut your detergent amount by half. Use filtered or distilled water if your tap water is very hard.
Wrap Loses Cooling Power Fast
Performance drops after cleaning? This signals material breakdown or incomplete drying.
Solution: Check complete dryness first. Even damp wraps cool poorly. Extend air drying time by 12 hours. Fully dry but still not working well? The cooling compounds may have separated. Gel wraps need gentle kneading to redistribute contents. Crystal types can’t be fixed once damaged. Replace them once cooling drops below 50% of original performance.
Special Care for Different Cooling Neck Wrap Materials
Each cooling neck wrap material needs its own care routine. PVA, microfiber, and gel-based wraps respond in different ways to water, detergent, and storage. Use the wrong method and you’ll destroy the cooling tech in your wrap.
PVA Cooling Towel Cleaning Protocol
PVA wraps give you the longest cooling time – over 4 hours per use. This super-absorbent material holds water longer than other types. But you need to handle it a certain way.
Never use soap, detergent, or chemicals. These products coat the PVA crystals. The coating blocks water absorption. Your wrap loses its cooling power for good. Rinse with plain cool water.
Machine washing works for PVA. Use cool water without any cleaning products. Run a gentle cycle. The fabric handles machine agitation better than gel types.
Complete air drying stops mold growth. PVA takes 24-48 hours to dry. The material gets stiff when dry – this is normal. It goes back to soft once you add water again. Store your dry PVA wrap in a cool, dark spot. Light and heat damage the crystal structure over time.
PVA dimensions run about 4 inches wide by 29.5 inches long. The lightweight design makes storage easy. You can reuse PVA wraps with proper care.
Microfiber and Fabric Wrap Maintenance
Microfiber wraps weigh less than PVA types. They stay soft when dry. But they don’t hold water as long. Expect medium cooling time measured in hours. This is shorter than PVA performance.
Stop snags and fabric damage before they start. Hand wash with care or use a mesh laundry bag for machine cycles. The perforated side that touches your skin tears with rough handling. Skip bleach – it weakens synthetic fibers.
UV exposure ages microfiber fast. Air dry indoors away from direct sunlight. Sun exposure fades colors and makes fabric brittle. Your wrap loses softness within months of sun drying.
Protect the antimicrobial treatment. Most microfiber wraps have antimicrobial coatings. Harsh detergents strip this protective layer. Use mild soap when you must.
Some hybrid designs mix PVA strips with microfiber fabric. These give you long cooling time plus soft texture. Follow PVA care rules for these combo wraps.
Gel-Pack and Refrigerant Wrap Care
Gel compartments hold about 120g of refrigerant per section. A typical gel wrap measures 375mm x 60mm x 15mm and weighs 155g total. These wraps need the most careful handling.
Clean the outside. Never put gel wraps in water. Wipe the outer fabric with a damp cloth. Water damages the sealed compartments. Punctures leak refrigerant gel – this ruins the wrap.
Freeze for cooling, never heat. Put gel wraps in your freezer for intense cold therapy. Let them thaw before reusing. The TGA warns against microwaving or oven heating grain-filled or gel packs. These methods cause explosions. They also break down the material.
Keep punctures away. Store gel wraps flat in a padded drawer. Don’t fold them – creases create weak points that can leak. Keep sharp objects away during use and storage.
Cooling stops once the gel melts to room temperature. Refreeze between uses. The neoprene wrap or hook-and-loop closures need spot cleaning.
Brand-Specific Cooling Towel Care
EnduraCool microfiber wraps: Wash before first use to turn on full wicking power. The 88/12 polyester/spandex blend needs cold water machine washing. Air dry. Fabric softener destroys the stretch and moisture-wicking features.
Chill-Its PVA models: You must rinse before use. Machine wash without detergent. Air dry. The PVA formula resists gel bead breakdown that hurts lower-quality wraps.
AlphaCool PVA and Ice Band hybrids: Pre-use washing boosts absorbency. Freeze the ice band compartments – never microwave these sections. The hybrid fabric portions can go in the machine.
MCR Safety PVA (CGNW03/CGT03): These workforce-grade wraps give you lightweight, long-lasting cooling. Add water to rehydrate. Chemical exposure voids the warranty and ruins performance.
Conclusion
Your cooling neck wrap is a long-term investment in comfort, not a disposable accessory. Follow the cleaning methods above—hand wash for gentle care or machine wash for convenience. This keeps your wrap performing well season after season. The key is consistency: clean after every 3-5 uses, avoid harsh chemicals, and always air dry before storage.
A well-maintained cooling towel lasts longer. Plus, it works better. Cooling neck wrap hygiene stops bacteria from building up. This protects your skin and keeps the fabric’s cooling power strong. Frustrated by weak cooling or bad smells? You now have the tools to make your wrap like new again.
Ready for maximum cooling power? Start using these care tips today. Your cooling neck wrap will keep you cool and comfortable for years. Have product-specific care questions? Want to explore our latest cooling technology? Visit our care guide resources or connect with our customer support team. We’re here to help you stay cool.