
Beat the summer heat without breaking the bank. Making your own cooling neck wrap takes less than 30 minutes. It costs a fraction of store-bought versions.
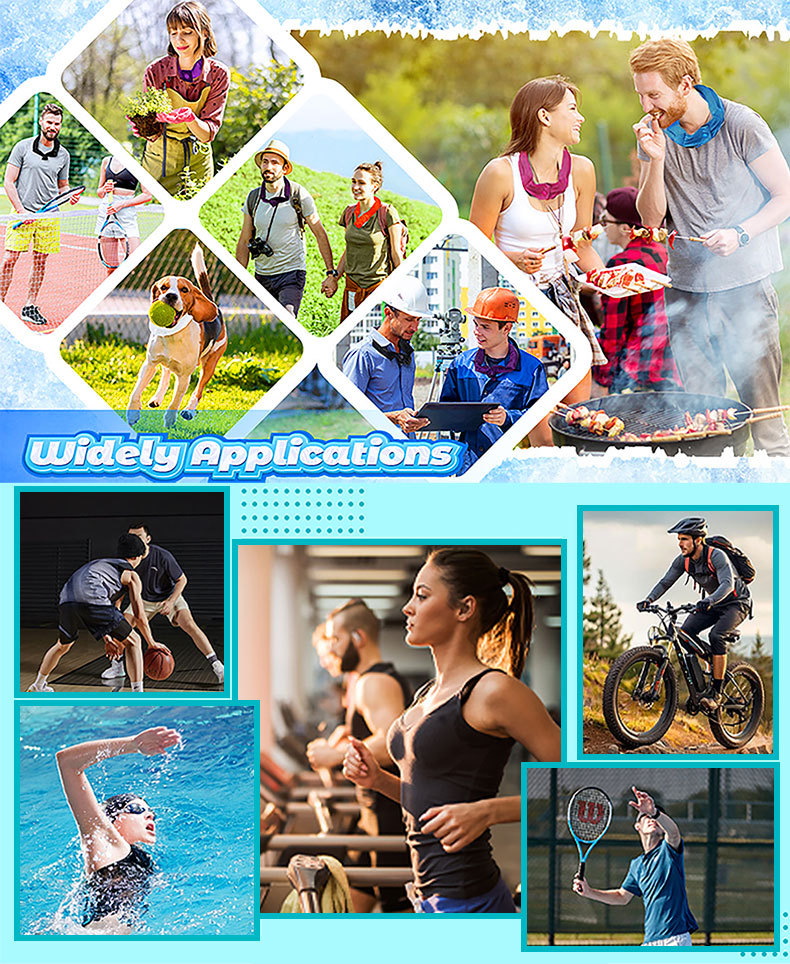
Working outdoors? Hitting the trails? Just trying to stay comfortable on scorching days? A fabric cooling neck scarf with polymer crystals gives you hours of refreshing relief.
The best part? You already have most materials at home. The simple no-sew method requires zero special skills.
This practical guide walks you through three different designs. You get basic water-activated cooling wraps and advanced gel cooling collars. Pick the perfect heat relief neck accessory for your needs.
You’ll learn which materials work best. Find out how the cooling technology functions. Plus, get insider tips to make your reusable cooling neck band last through countless summers.
Materials and Tools You’ll Need for Your DIY Cooling Neck Wrap
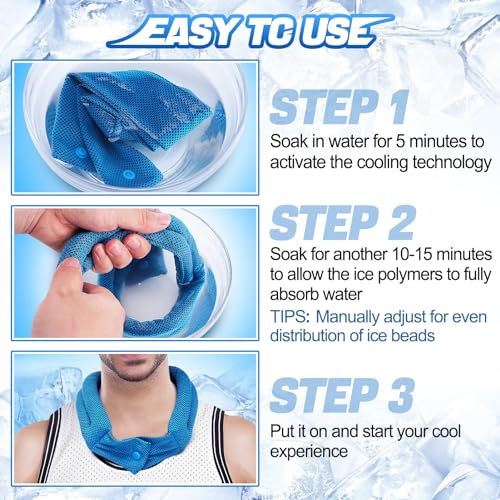
Making your own fabric cooling neck scarf needs just a few supplies. Most crafters already have the basic tools. The special ingredient—polymer crystals—costs under $5 and works for many projects.
Essential Fabric Selection
100% cotton fabric is the base of any good water-activated cooling wrap. Wash your fabric before cutting. This stops colors from bleeding during use. Tight-weave fabrics work best. Quilting cottons and batiks hold moisture without leaking. They also let air through.
Cut your fabric to 4.5 inches wide by 42-45 inches long (the full width from edge to edge). Trim both ends at a 45-degree angle. This creates pointed tips that make tying easier.
The Magic Ingredient: Polymer Crystals
Water beads (also called polymer crystals or water crystals) give you the cooling power. Brands like Watersorb or Miracle Gro sell these safe crystals at garden centers and craft stores. They’re safe for adults. Keep them away from children and pets.
Here’s the key part: less is more. Use 1/8 to 1/4 teaspoon per 4-inch section. Most DIY failures come from overfilling. These crystals grow big in water (they need 2+ hours to soak). Too many beads make gel ooze through the fabric. That feels bad on your skin.
A standard cooling neck band has four sections. You’ll need just 1 teaspoon total—half what most tutorials say.
Basic Tools Checklist
-
Sewing machine with straight stitch (or hand-sewing needle and thread for no-machine methods)
-
Sharp scissors or rotary cutter with cutting mat
-
Pins or fabric clips to mark your 4-inch unsewn opening at the center
-
Iron for crisp edge folding
-
Measuring tape or ruler (a 3.5″ x 6.5″ ruler works great)
-
Cookie sheet or shallow bowl to hold crystals during filling
You might also want a chopstick or pencil for turning the tube inside-out. Hook-and-loop tape (Velcro) gives you closure options. Magnetic pins help stop crystal spills.
Pro tip: Double-bag your crystals in ziplock bags and work over a tray. Even a few loose beads get slippery with water.
Step-by-Step Tutorial: Making a Polymer Bead Cooling Neck Wrap
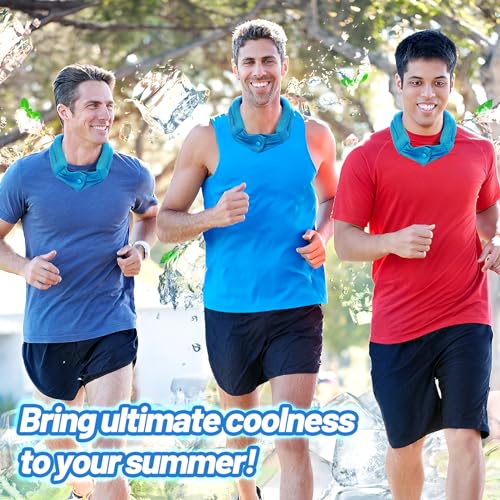
Your fabric is cut. Your polymer crystals are ready. Now comes the fun part—assembling your heat relief neck accessory from start to finish.
This tutorial covers the complete sewing process. You’ll create compartments that keep the crystals spread out evenly. Each step includes tips to avoid common mistakes. Follow these instructions with care. Your first attempt can look as good as store-bought sports cooling neck gear.
Step 1: Create the Basic Tube Structure
Fold your 4.5″ x 44-45″ fabric strip lengthwise with right sides facing together. The fold creates a long, narrow rectangle measuring about 2.25 inches wide.
Pin along the long raw edge. Leave both short ends open for now. Mark a 2.5-inch opening at the exact center of the long edge using pins or chalk. This opening lets you turn the tube right-side-out and add your polymer crystals later.
Sew with a 1/2-inch seam allowance along the long edge. Start at one end. Backstitch three times for strength. Stop at your center opening mark. Backstitch again, skip the 2.5-inch gap, then backstitch a third time before continuing to the opposite end. Finish with another round of backstitching.
Those reinforced backstitches matter more than you think. Your water-activated cooling wrap will hold several ounces of hydrated gel. Weak seams split during the first soak. Triple backstitching at stress points stops this failure.
Step 2: Turn and Press for Clean Edges
Turn your tube right-side-out through the center opening. This takes patience. Insert a chopstick or pencil into one end. Push the fabric through itself with steady pressure. Work slow to avoid stretching the seams.
Once turned, use your chopstick to poke out the corners at both ends. You want crisp points—not rounded lumps.
Press the entire tube flat with a hot iron. Press the seam open first from the inside if possible. This reduces bulk. Then press the tube from the outside. Fold under the raw edges of your 2.5-inch opening. Press these edges flat. They’ll stay tucked during hand-stitching later.
A well-pressed tube makes the next steps much easier. Skip this ironing and your stitching lines will wobble.
Step 3: Mark Your Compartment Divisions
Lay your pressed tube on a flat surface with the seam facing up. Measure the distance between the two finished ends. Most tubes measure 42-43 inches total.
Find and mark the exact center point with a pin. This center becomes your first dividing line. Your cooling bandana needs three equal compartments measuring about 14 inches each. Or create four 10.5-inch sections for more even crystal spread.
Here’s the critical part: Pin these division points only through the top layer of fabric for now. You cannot sew the compartments until after you add the polymer beads. These pins serve as visual guides during filling.
Some designs use six narrower sections (about 7 inches each). More compartments stop crystal clumping. They also take longer to fill. Three to four sections give you the best balance between function and build time.
Step 4: Sew the Center Division First
Locate your center pin mark. Sew straight across the tube width using a double or triple stitch line. Sew forward, backstitch, then sew forward again over the same line. This triple-pass creates a solid barrier.
Why stitch the center now? It divides your tube into two halves. You’ll fill one half, then fill the other. This stops beads from moving around during filling. It also gives you a stopping point if you need a break.
Test your center stitch by tugging the fabric hard on both sides. The stitching should not gap or pull apart. Weak center divisions let all your crystals slide to one end. That creates a lopsided gel cooling collar that doesn’t work well.
Step 5: Fill the First Half with Polymer Crystals
Work over a cookie sheet or shallow tray to catch spills. Those tiny beads roll everywhere. One spilled bead plus water on your floor creates a slipping hazard.
Start with the section furthest from your center opening. Use a small funnel or fold a piece of paper into a makeshift cone. Pour 1/4 teaspoon of dry polymer crystals into the section. Shake and massage the fabric to move beads down to the center stitch line.
Add another 1/4 teaspoon and shake again. Stop at 1/2 teaspoon maximum per section. This seems like nothing—the beads look sparse. Trust the process. These crystals expand to 100-200 times their dry size in water.
Most beginners add too much. The result? Beads swell so large they stress the seams. Gel oozes through the fabric weave. The neck wrap feels lumpy and uncomfortable against your skin.
Pro tip from experienced makers: Hydrate a test batch of crystals first. Let them expand in a bowl for 2-4 hours. Fill a scrap fabric tube with the swollen gel. Let it dry in the sun. Once dry, remove and measure the shrunken crystals. That measurement tells you the exact amount each pocket can hold without problems.
Step 6: Stitch the First Division and Continue Filling
Smooth your filled section to spread beads out. Pinch the fabric at your next division mark. Sew across using the same triple-stitch method. You now have one sealed compartment with crystals and one empty section.
Fill the next section with 1/4 to 1/2 teaspoon of dry beads. Shake them down to your new stitch line. Sew the division. Repeat until you reach the center.
Flip your tube around. Fill the remaining sections on the other side of the center stitch. Work your way back toward the center opening.
Count your compartments as you go. A four-section design uses about 1 teaspoon total of dry crystals split evenly. A six-section design uses about the same total—just spread across more pockets.
Step 7: Close the Filling Opening
You’ve filled all compartments. Time to seal your reusable cooling neck band for good. Fold the pressed edges of your 2.5-inch opening inward. Pin them together.
Hand-stitch using a slip stitch (also called a ladder stitch or invisible stitch). This method hides the thread inside the fold. Your closure looks clean and professional. Machine stitching works too—use an edge stitch or topstitch very close to the folded edge.
Pull your thread tight with each stitch. The opening must stay closed during repeated soaking and wearing. A loose closure lets beads escape during the first activation.
Step 8: Add Ties or Closure Systems (Optional)
Basic cooling neck wraps tie using the angled ends. Cut each end at a 45-degree angle if you haven’t already. These points wrap around your neck and tie in front without bunching.
Want adjustable closure? Sew a 2-inch strip of hook-and-loop tape (Velcro) to each end. Position the hook side on one end (right side of fabric facing up). Place the loop side on the other end (right side facing down when wrapped). This setup lets you overlap the ends and adjust the tightness.
Some makers prefer snap closures or buttons. These work fine for light-duty use. Snaps can pop open when the neck wrap is soaked and heavy. Hook-and-loop provides more secure holding power.
Step 9: First Activation and Testing
Fill a bowl with room-temperature water. Submerge your finished ice pack neck wrap. Set a timer for 2 hours minimum. First activation takes longer than later ones.
Check progress after 30 minutes. Squeeze and smoosh the fabric. This helps water reach all the crystals. You’ll feel the beads swelling into soft gel lumps.
After 2-4 hours, remove the wrap. Hold it over the sink and squeegee off excess water. The fabric should feel damp but not dripping. The compartments should feel plump with hydrated gel.
Test the weight spread. Each section should feel similar in size. If one section feels much larger, you overfilled it with dry beads. Make a note for your next project.
Wear your summer heat cooling product around your neck for 10-15 minutes. Check for comfort. The gel should feel cool and flexible—not hard or lumpy. No gel should ooze through the fabric onto your skin.
Troubleshooting Common Build Problems
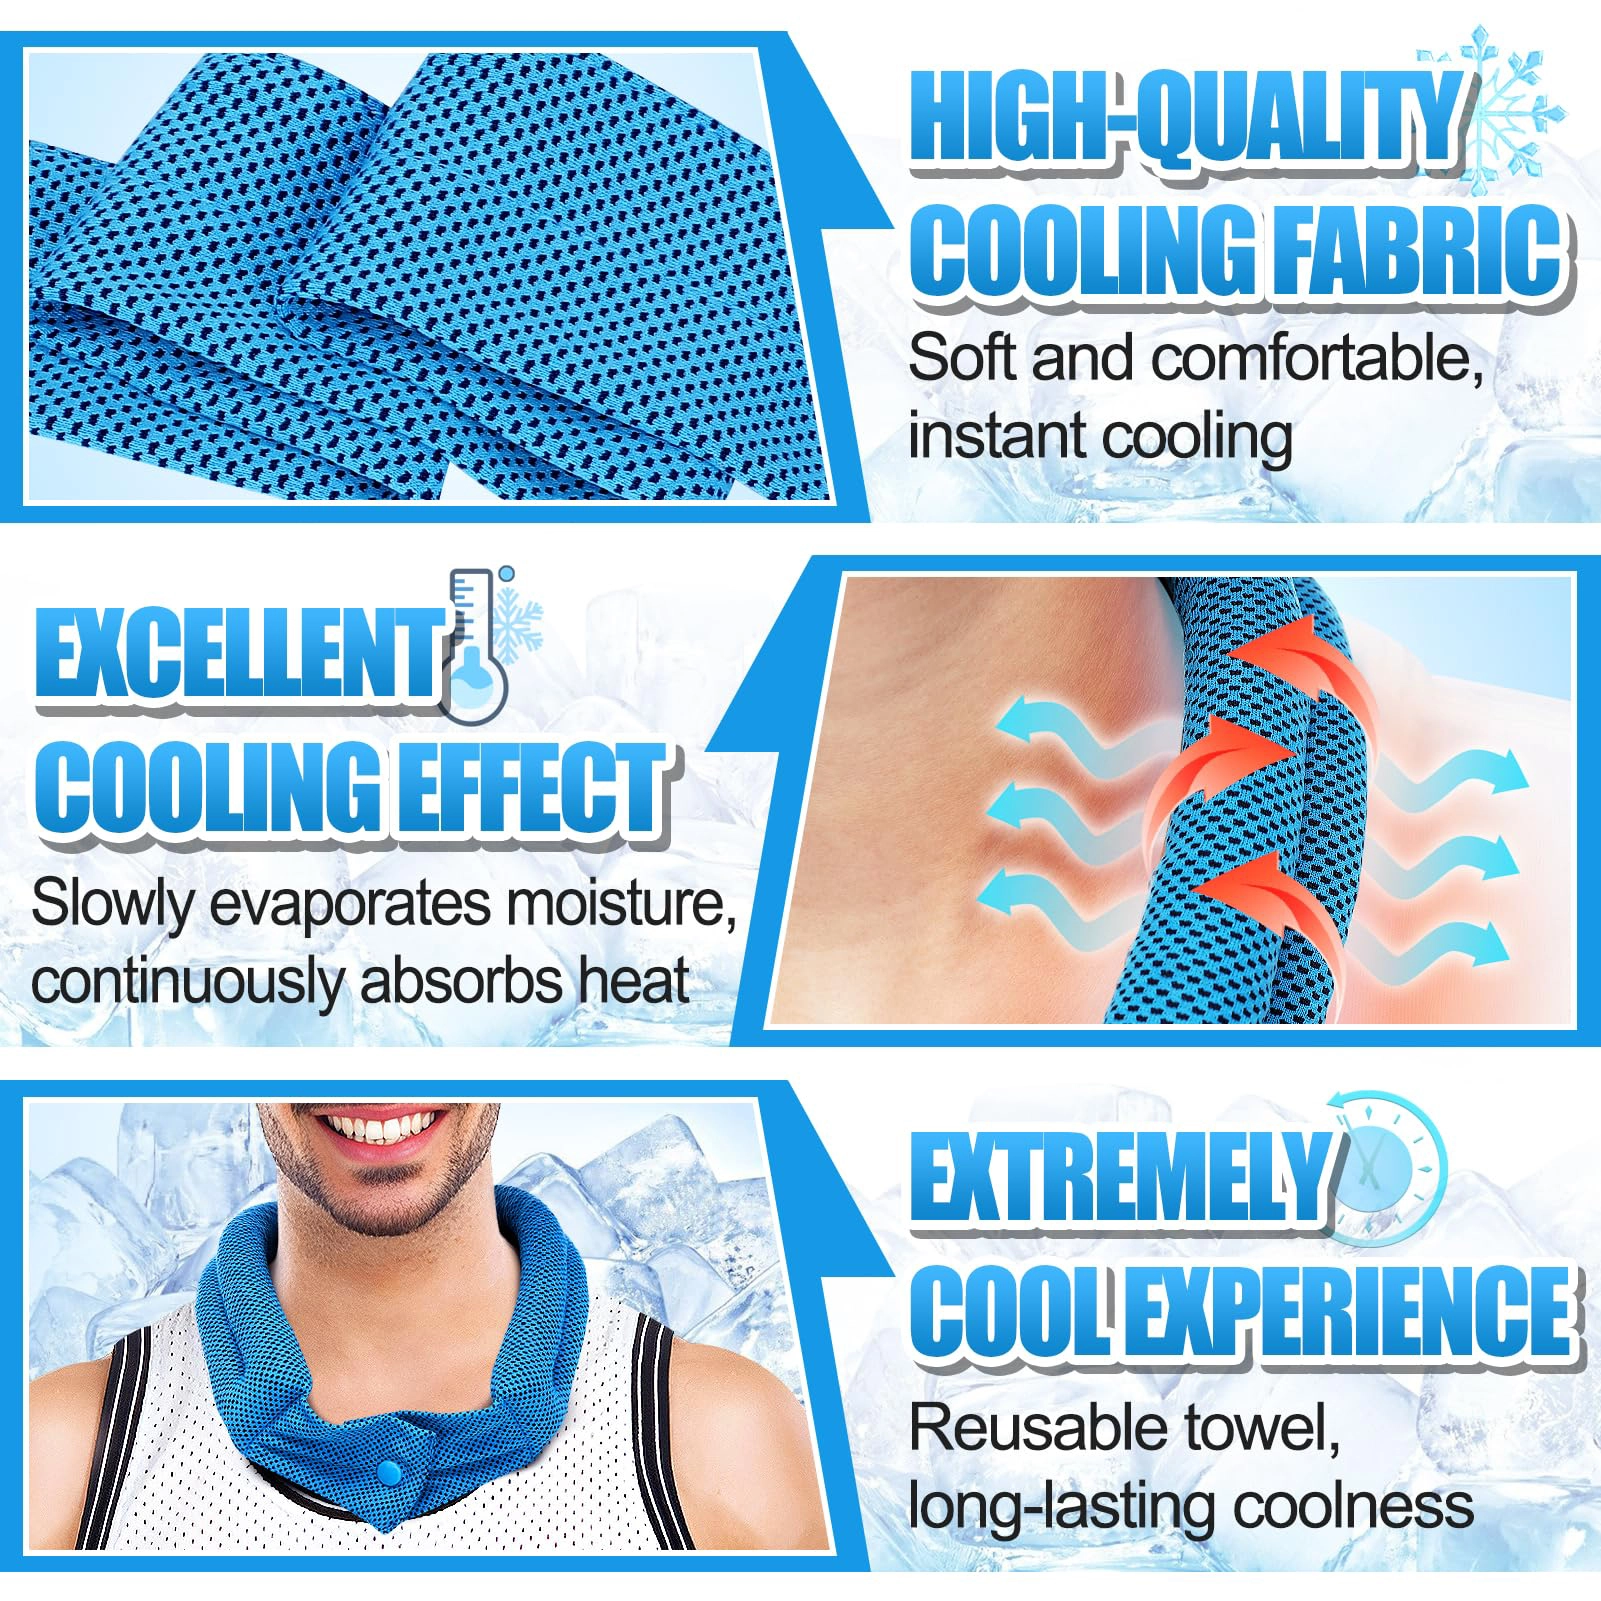
Beads leaking through fabric? Your weave is too loose. Switch to a tighter quilting cotton or add a thin layer of lining fabric inside the tube.
Lumpy, uncomfortable feel? You overfilled the sections. Next time, use 1/8 teaspoon per 4-inch section instead of 1/4 teaspoon.
Seams splitting after hydration? Your stitching wasn’t strong enough. Use a triple-pass stitch at all division lines and backstitch well at stress points.
Crystals clumping to one side? You need more compartments. Divide a 42-inch wrap into six 7-inch sections instead of three 14-inch sections.
Wrap too stiff when wet? Your polymer crystals are the wrong type. Look for round water beads—not jagged crystals designed for soil. Jagged types create a harder gel.
Takes forever to activate? This is normal for the first soak. Later activations take 1-2 hours maximum because the polymer has already expanded once.
Your DIY fabric cooling neck scarf is complete. Store it flat and dry between uses. The crystals shrink back to almost invisible after air-drying. One wrap lasts multiple summers with proper care.
How Cooling Neck Wraps Work: The Science Behind It
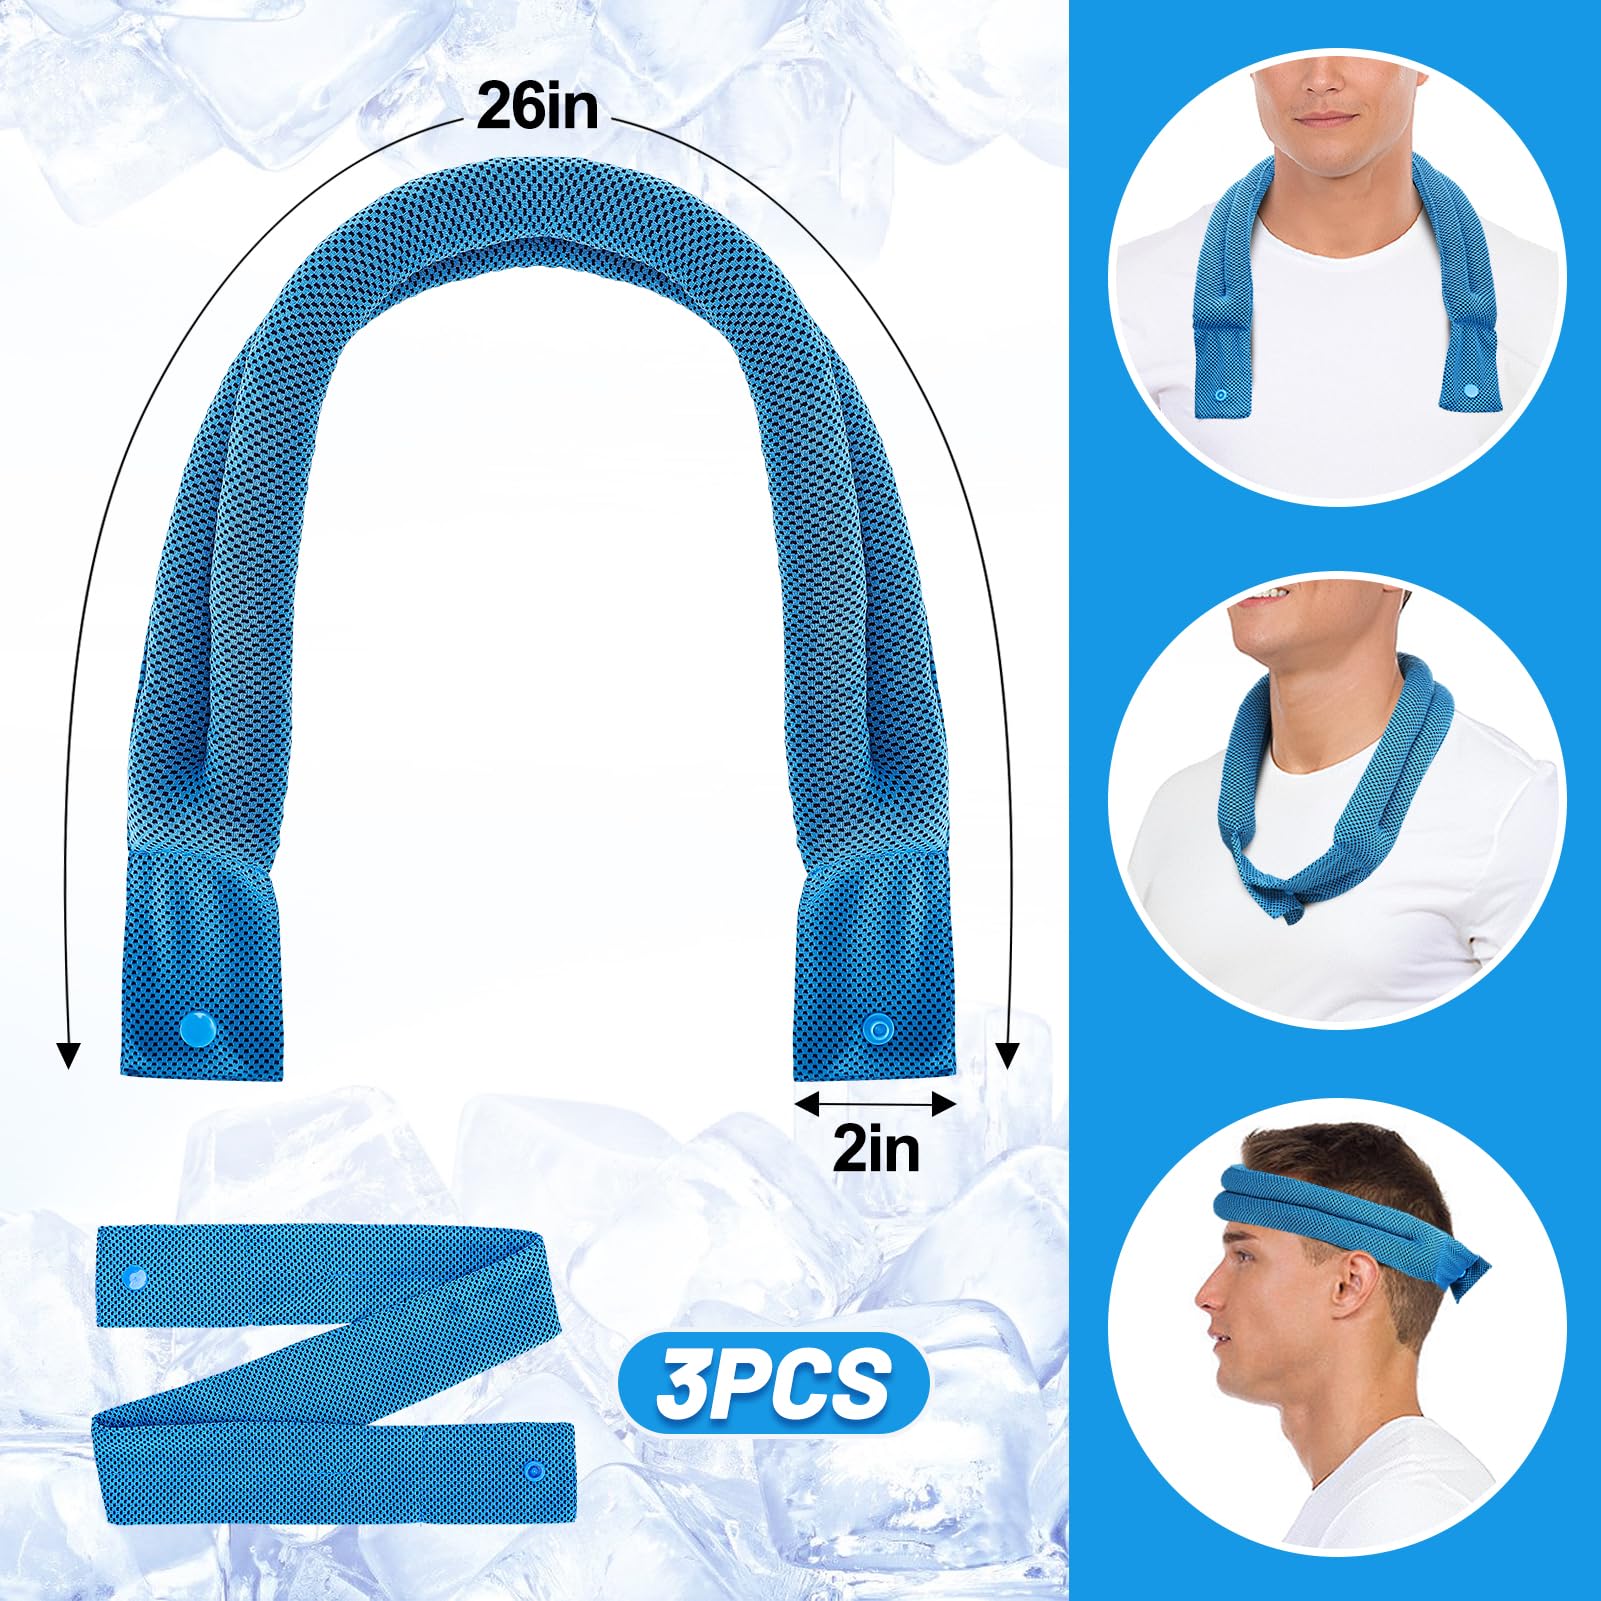
Your cooling neck wrap targets two key blood vessels: the carotid sinus and jugular vein. These vessels sit close to your skin at the neck. Cooling them drops the temperature of blood flowing back to your heart and brain. This lowers your body’s temperature control center response.
Two Cooling Technologies Explained
Evaporative cooling relies on water-soaked fabric. The water in your fabric cooling neck scarf absorbs heat from your skin as it evaporates. This method works best in dry climates. High humidity slows evaporation. Tests show 70% cooling loss within 15-20 minutes once humidity climbs above 85%.
Conductive cooling uses gel packs or phase-change materials pre-cooled to 4°C (39°F) or lower. A gel cooling collar keeps surface temperatures around 15-18°C for 30-45 minutes. The cold material pulls heat from your skin through contact. No evaporation needed. Gel-based designs work better in humid conditions.
Research-grade cooling collars measure 375mm long × 60mm wide × 15mm deep and weigh 155 grams at room temperature. The gel pack inside weighs about 120 grams. Pre-cool at -80°C for 24 hours, then thaw 10 minutes at room temperature for best results.
Measured Performance Benefits
A review of 17 trials in hot-humid conditions (WBGT ≥28°C) proved neck cooling extends time-to-exhaustion by 11.3% (95% confidence interval: 6.8-15.9%). Athletes wearing cooling wraps averaged 43.15 minutes before exhaustion. Those without cooling lasted 38.20 minutes—a 13.5% improvement (P < .001).
Your body responds to a water-activated cooling wrap:
-
Heart rate drops 5-7 beats per minute at matched workloads
-
Core temperature rise slows by 0.4-0.6°C over 45 minutes of activity
-
Perceived exertion (RPE) decreases 19% compared to no cooling
-
Neck skin temperature drops 17.91°C within 5 minutes of application
The cooling effect lasts throughout exercise. Neck skin temperature stays 8.11°C lower even at the end of extended activity (trial statistics: P < .001, effect size d=6.28).
Why It Works Despite Limited Blood Contact
Here’s the surprising part: neck cooling doesn’t lower core body temperature much through blood flow alone. The contact surface area is too small. The blood’s transit time past the cooled area is too brief.
So why does performance improve? The cooling reduces how hot you feel. Your brain receives cooler blood signals from the neck. This delays the mental decision to stop. Athletes tolerate higher body temperatures and heart rates before exhaustion. You don’t run cooler—you just feel cooler enough to push longer.
Performance Limits You Should Know
Your environment determines your reusable cooling neck band’s effectiveness. Temperatures above 30°C and humidity above 85% shrink the performance advantage to just 1.1 minutes of extended activity. Evaporative designs lose most cooling power within 15-20 minutes in these conditions.
Phase-change gel wraps stay effective for 30-45 minutes of reliable cooling. After that, the gel warms to room temperature. The heat relief neck accessory stops working.
Repeated sprint performance improves with neck cooling. Yet there are no measured body stress or hormone changes. Your stress hormones stay the same. Your core temperature follows similar patterns. The benefit comes from mental comfort from feeling cooler. This lets you work harder before deciding to quit.
Conclusion
You now have everything to make your own fabric cooling neck scarf. It gives instant heat relief and costs just a few dollars. Spend 30 minutes, and you can create multiple reusable cooling neck bands. Make them for yourself and your loved ones. Customize each one to your size, style, and cooling needs.
This DIY project saves money. That’s just the start. https://coolheatech.com/Making a cooling neck wrap is a skill you’ll use again and again. Heatwaves? Outdoor work? Summer activities? You’re ready. The polymer crystal method cools for 2-4 hours. Or use a simple ice pack insert for quick relief. Either way, you’ve learned something useful.
Beat the heat? Grab your materials and follow the steps. You’ll have your first cooling neck wrap ready in an hour. Test it before your next outdoor trip. Your future self will thank you on hot days. Stay cool out there!