
You’re halfway through your morning run, soaking wet. That “cooling towel” you bought feels like a warm washcloth on your neck. Sound familiar?
Most people miss this: how to wear a cooling towel matters just as much as the towel itself.
Three things separate refreshing chill from disappointing damp cloth:
– Proper activation
– Smart placement
– Matching the right technique to your activity
Maybe you’re doing HIIT workouts. Or coaching youth soccer in brutal heat. Or working construction outdoors. Either way, I’ll show you the exact methods that turn a basic cooling towel into your personal portable air conditioner.
You’ll learn the science-backed way to activate it. Five wearing techniques the pros use. And the mistakes that kill your towel’s cooling power before you even start sweating.
Time to turn that soggy mess into ice-cold relief.
Content Framework: “How To Wear A Cooling Towel”
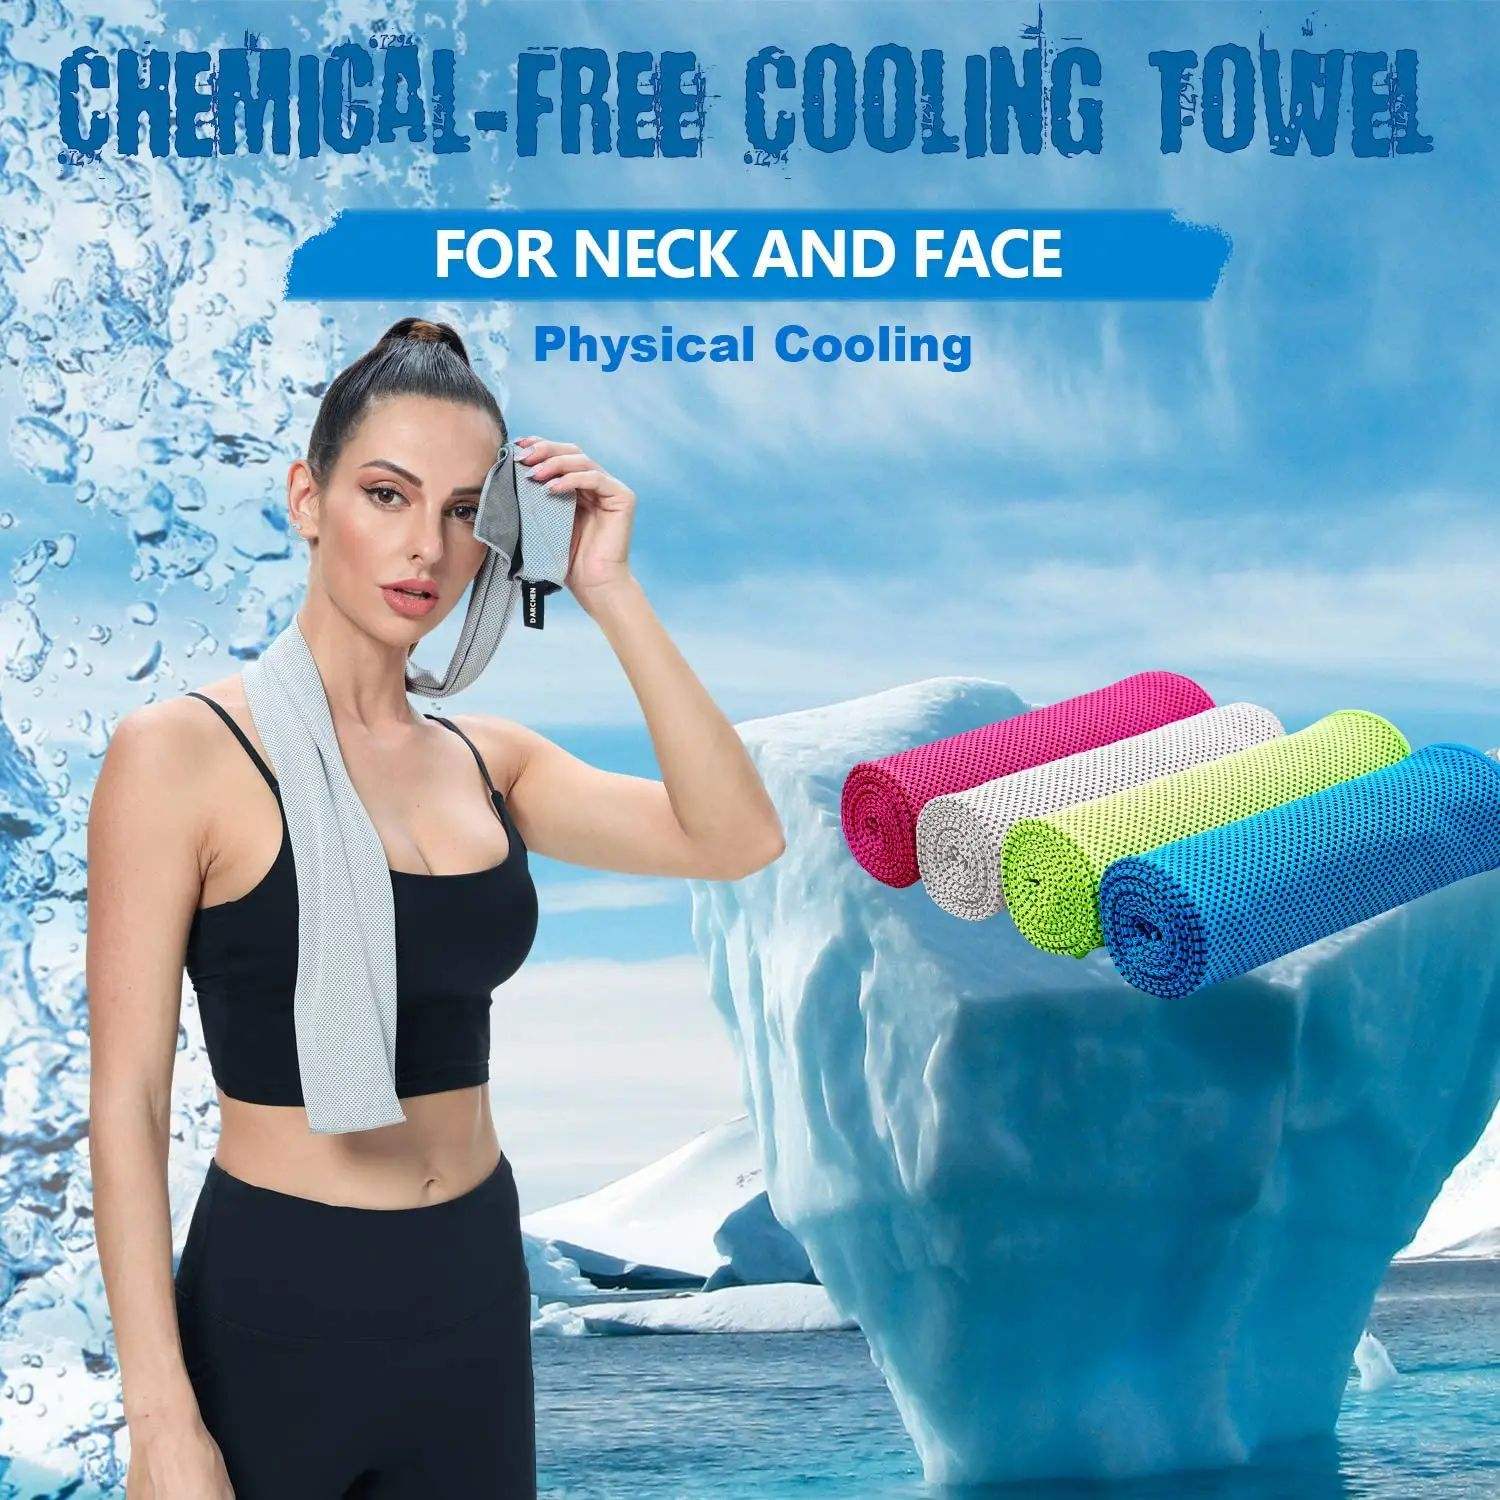
The cooling power targets three body zones: neck, forehead, and wrists. These spots matter because blood vessels run close to your skin here. They act as fast routes to your body’s temperature control center (your hypothalamus).
Here’s your activation sequence:
Step 1: Soak It
Submerge the towel in cold water for 30 seconds. The PVA or microfiber fabric absorbs 5-10 times its weight in moisture. This creates your cooling reservoir.
Step 2: Wring It Out
Squeeze until it feels lightweight and dry to touch. Too wet? It’ll drip everywhere and kill the evaporative effect.
Step 3: Activate the Cooling
Snap or wave the towel hard 5-10 times. This starts airflow and evaporation. That’s what actually cools you down.
Step 4: Position It
Drape it around your neck or wrap over pulse points. Studies show neck placement lowers how hard you feel you’re working by 12-15%.
The Reactivation Rule: Rewet every 15-30 minutes. High humidity? Snap the towel more often or stand near a fan. This boosts the cooling effect.
One warning: This works for surface cooling alone. It slows core temperatures above 39°C but won’t replace medical help in heat emergencies.
Understanding Your Cooling Towel Before Use
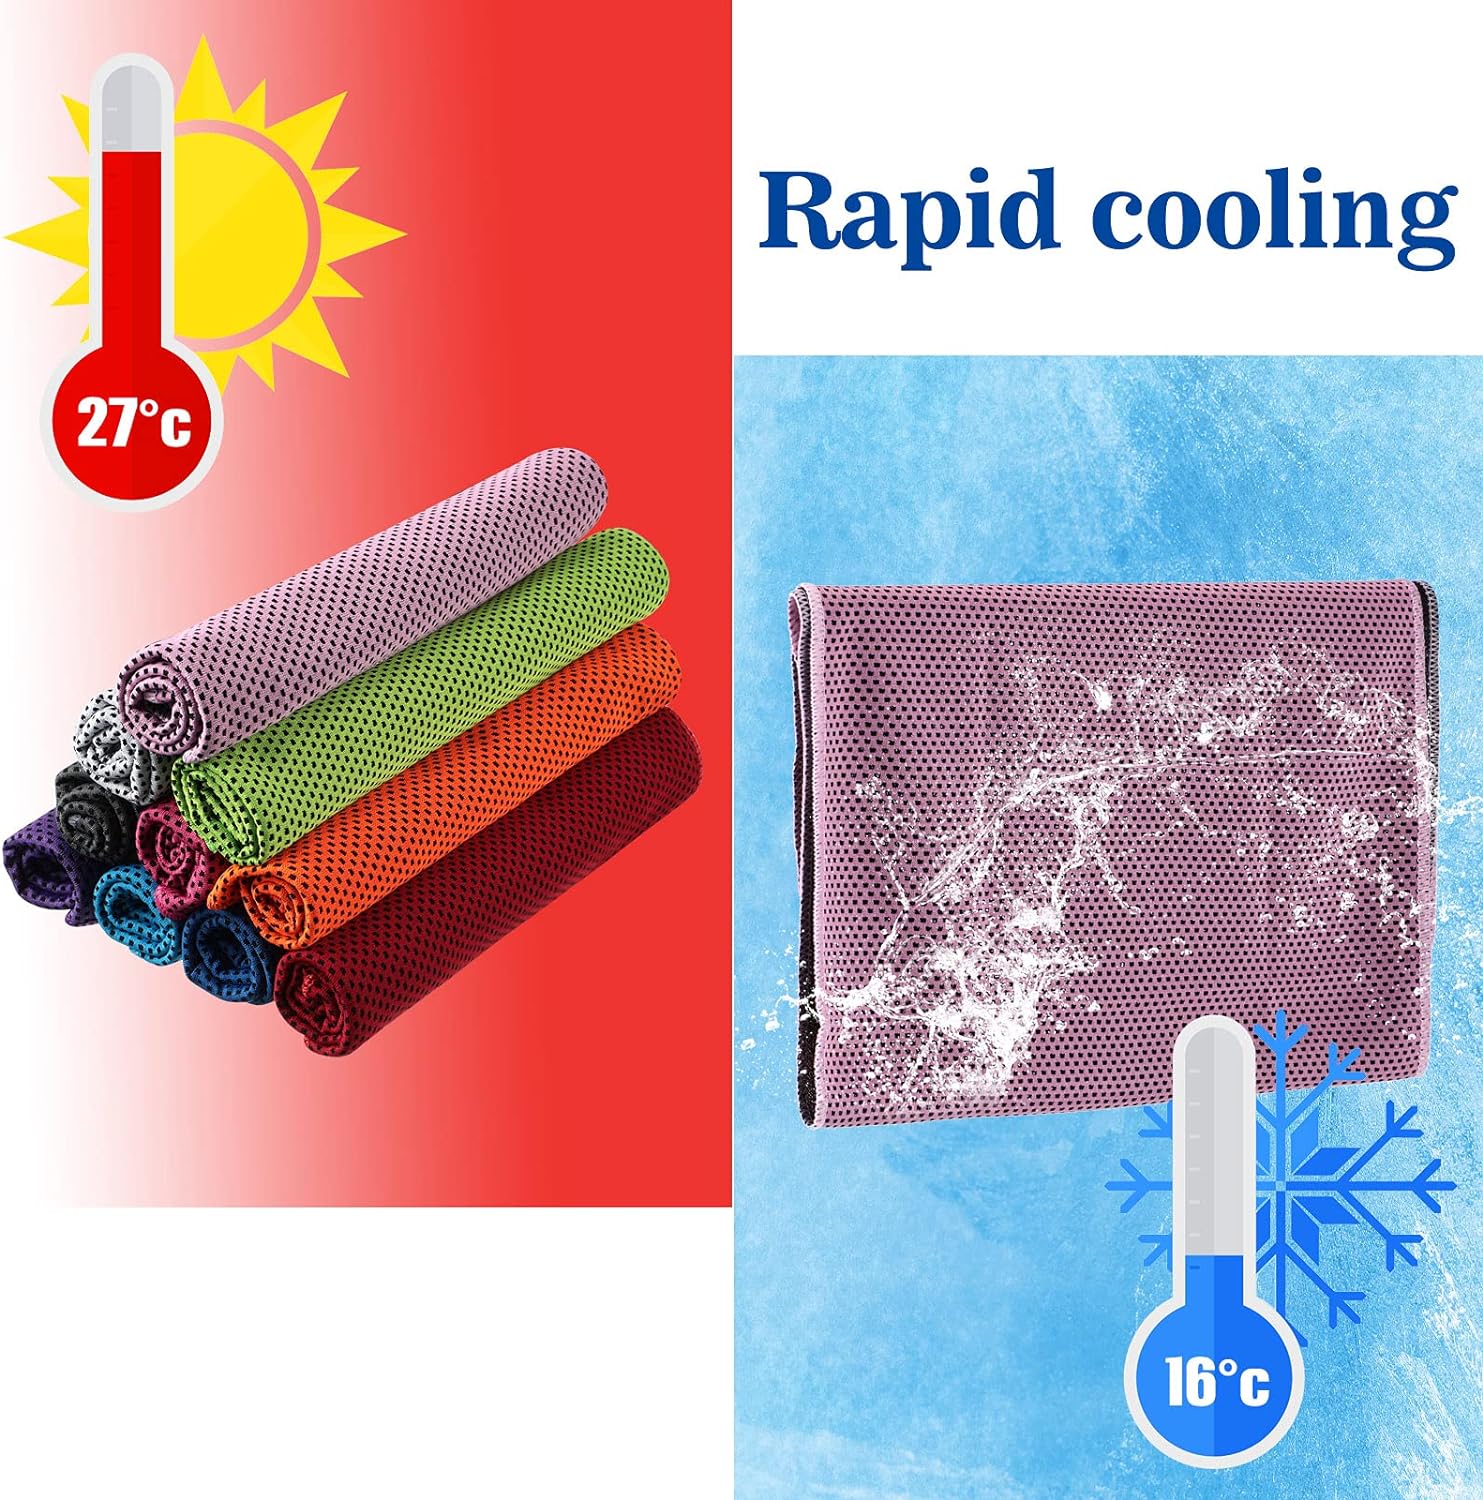
Not all cooling towels work the same way. The material determines everything—how long it stays cold and whether it’ll help you in humid weather.
Material Types That Matter
PVA (Polyvinyl Alcohol) towels dominate the market for one reason: water retention. These synthetic towels absorb moisture like a sponge. They hold onto it. You get extended cooling sessions without constant rewetting. They feel soft against your skin. They weigh almost nothing when dry. Plus, they come in dozens of sizes and colors. Running marathons or working 8-hour outdoor shifts? This is your format.
Microfiber towels grabbed 47% of the market in 2024. Why? Speed. They wick moisture faster than any other material. They dry in minutes. Athletes love them. They’re compact and lightweight. They deliver rapid cooling bursts. You can stuff one in your gym bag without thinking twice. The trade-off? You’ll reactivate them more often than PVA versions.
Cotton towels work, but they lag behind. They’re less efficient. This means shorter cooling windows. People choose them for environmental reasons, not performance.
Evaporative towels (the broader category) generated 42% of global revenue in 2024. They work anywhere, anytime, with just water.
The Humidity Problem Nobody Mentions
Your towel’s effectiveness drops at high humidity. Humidity above 60%? The air can’t absorb moisture well. This kills evaporative cooling. In muggy conditions, you need airflow. A fan, wind, or constant movement maintains the effect.
Quick Reference:
|
Material Type |
Best For |
Weakness |
|---|---|---|
|
PVA |
Long sessions, maximum retention |
Slower activation |
|
Microfiber |
Quick cooling, portability |
Frequent rewetting needed |
|
Cotton |
Eco-conscious users |
Shortest cooling duration |
Choose based on your environment and activity duration, not just price.
How to Activate Your Cooling Towel (3-Step Method)
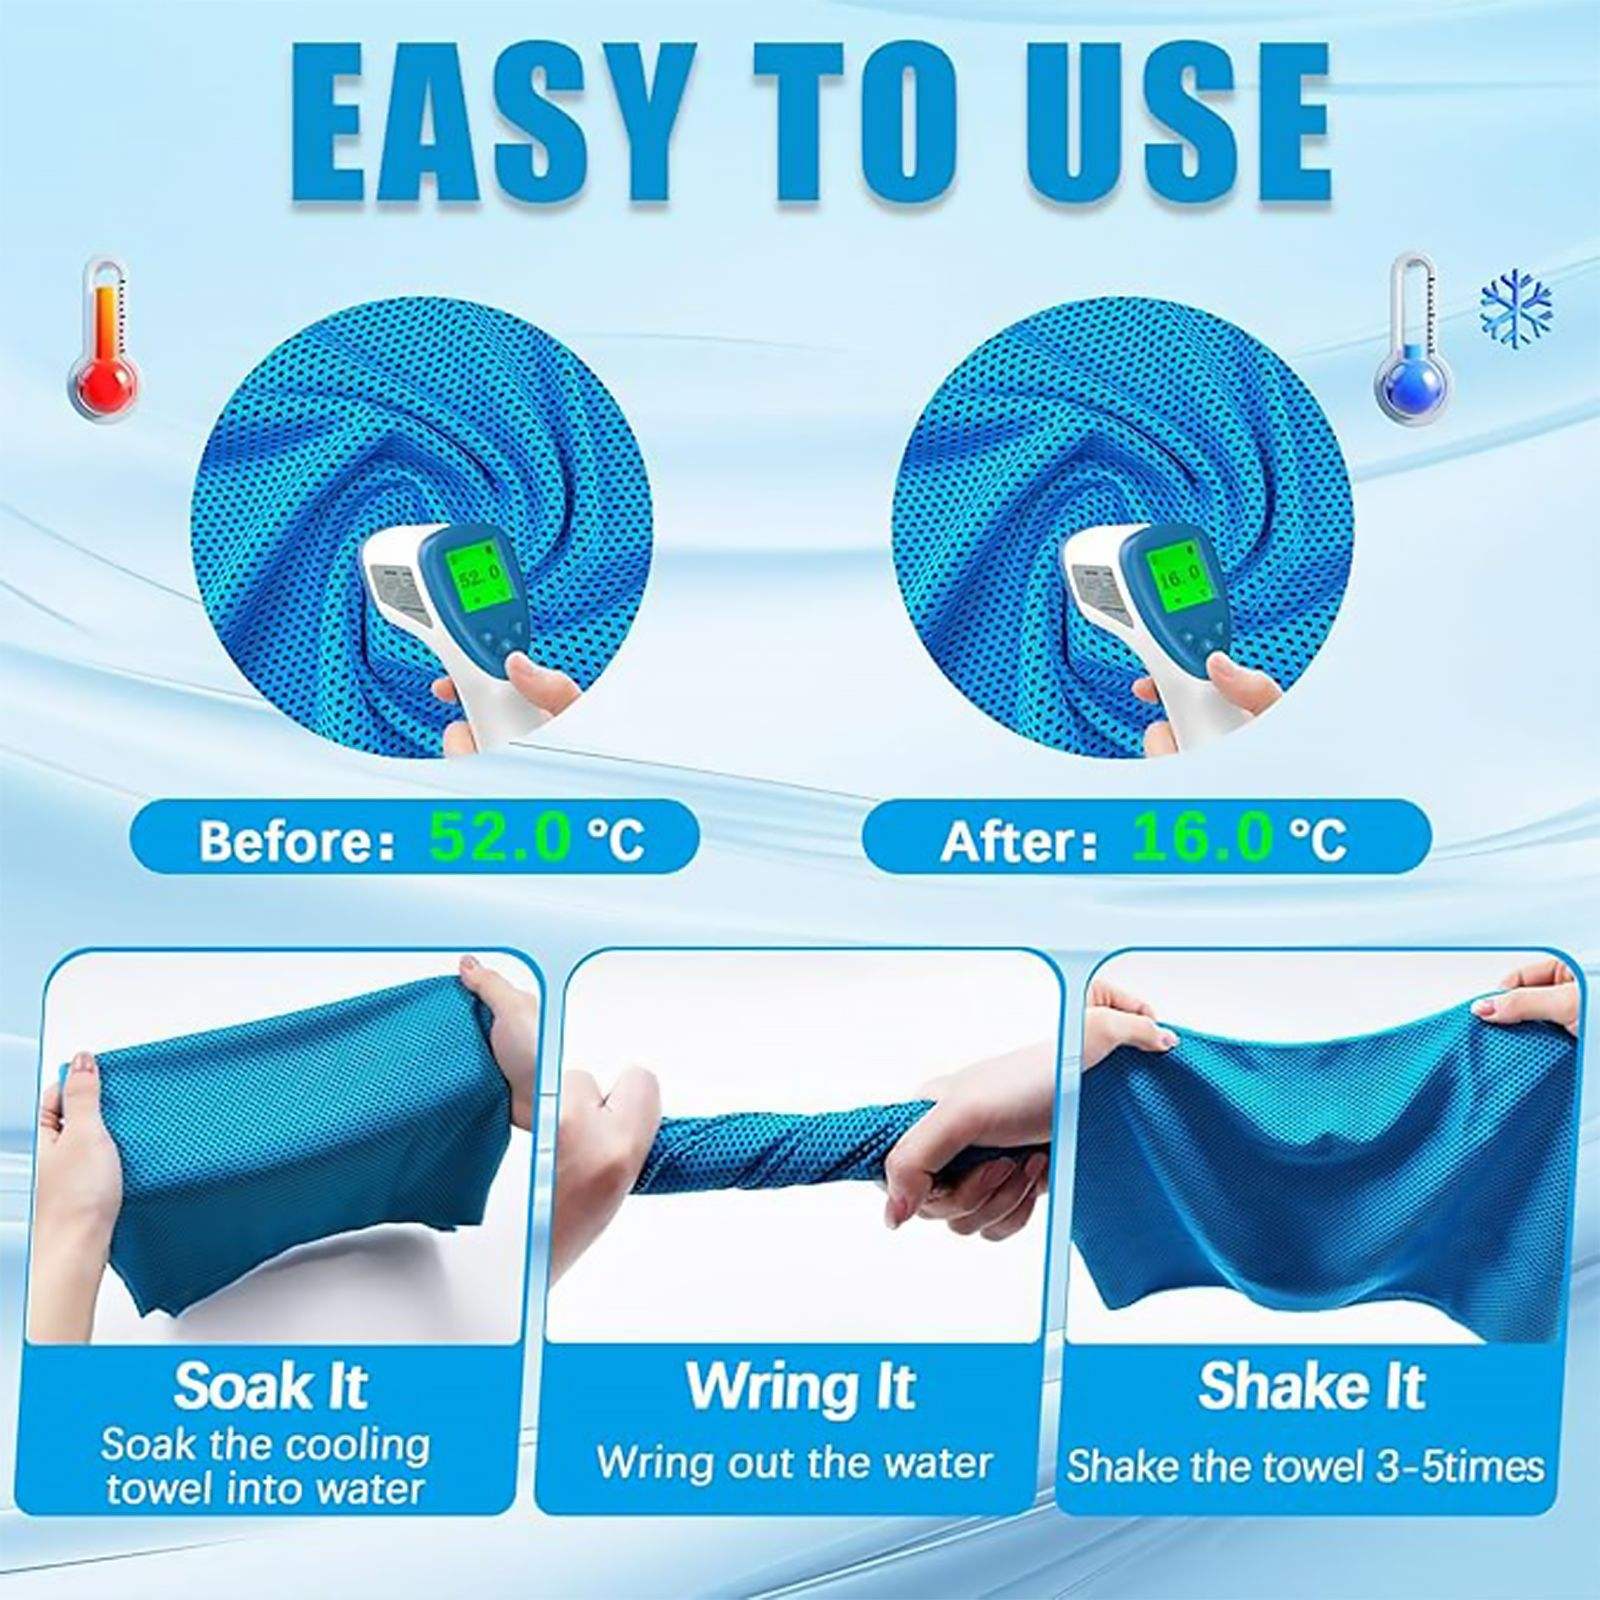
Activation takes 90 seconds. That’s all you need for instant relief.
The process looks simple. Three steps. But how you do it matters. You’ll get either 2-3 hours of cooling or just 20 minutes.
Step 1: Soak the Towel
Submerge your towel in cold water for 1-2 minutes. Not 30 seconds. Not a quick dip. Full saturation is key.
The fabric needs to absorb moisture through every fiber. PVA towels and microfiber materials hold 5-10 times their weight in water. This is your cooling reservoir.
Water temperature? Aim for 59-68°F. Tap water works great. So does a water bottle, fountain, or garden hose. Ice-cold water gives a stronger first sensation. But regular cold water performs just as well over time.
Watch the towel. It stops creating bubbles? That means it’s saturated.
Step 2: Wring Out Excess Water
Squeeze the towel with firm pressure. You want one specific dampness level: wet enough to activate cooling, dry enough to stop dripping.
This step turns on the evaporative cooling. Too much water? It soaks your shirt and skin. The excess moisture blocks airflow. This kills the cooling effect.
The towel should feel light in your hands. Damp to touch, but not soaking wet. Think “wrung-out washcloth” rather than “fresh from the pool.”
Step 3: Snap the Towel to Trigger Cooling
Hold both ends. Snap it hard through the air 3-5 times.
Most people skip this step. It’s also the most critical.
Snapping does two things at once. First, it spreads moisture through the fabric. Second, it forces air through the fibers. This air movement starts the evaporation. That’s what cools you down.
You’ll feel the towel get cooler in your hands. That’s evaporation starting. The cooling effect kicks in within seconds.
The Reactivation Protocol: Cooling fades? Check if the towel is still damp. Still wet? Snap it again 3-5 times. Bone dry? Re-soak and repeat all three steps. Most towels stay cool for 2-3 hours per activation. But humidity, climate, and your body temperature change this.
One bonus: these towels work chemical-free. No gels. No refrigeration. Just water and air movement. Many include UPF50 sun protection built in.
5 Easy Ways to Wear Your Cooling Towel
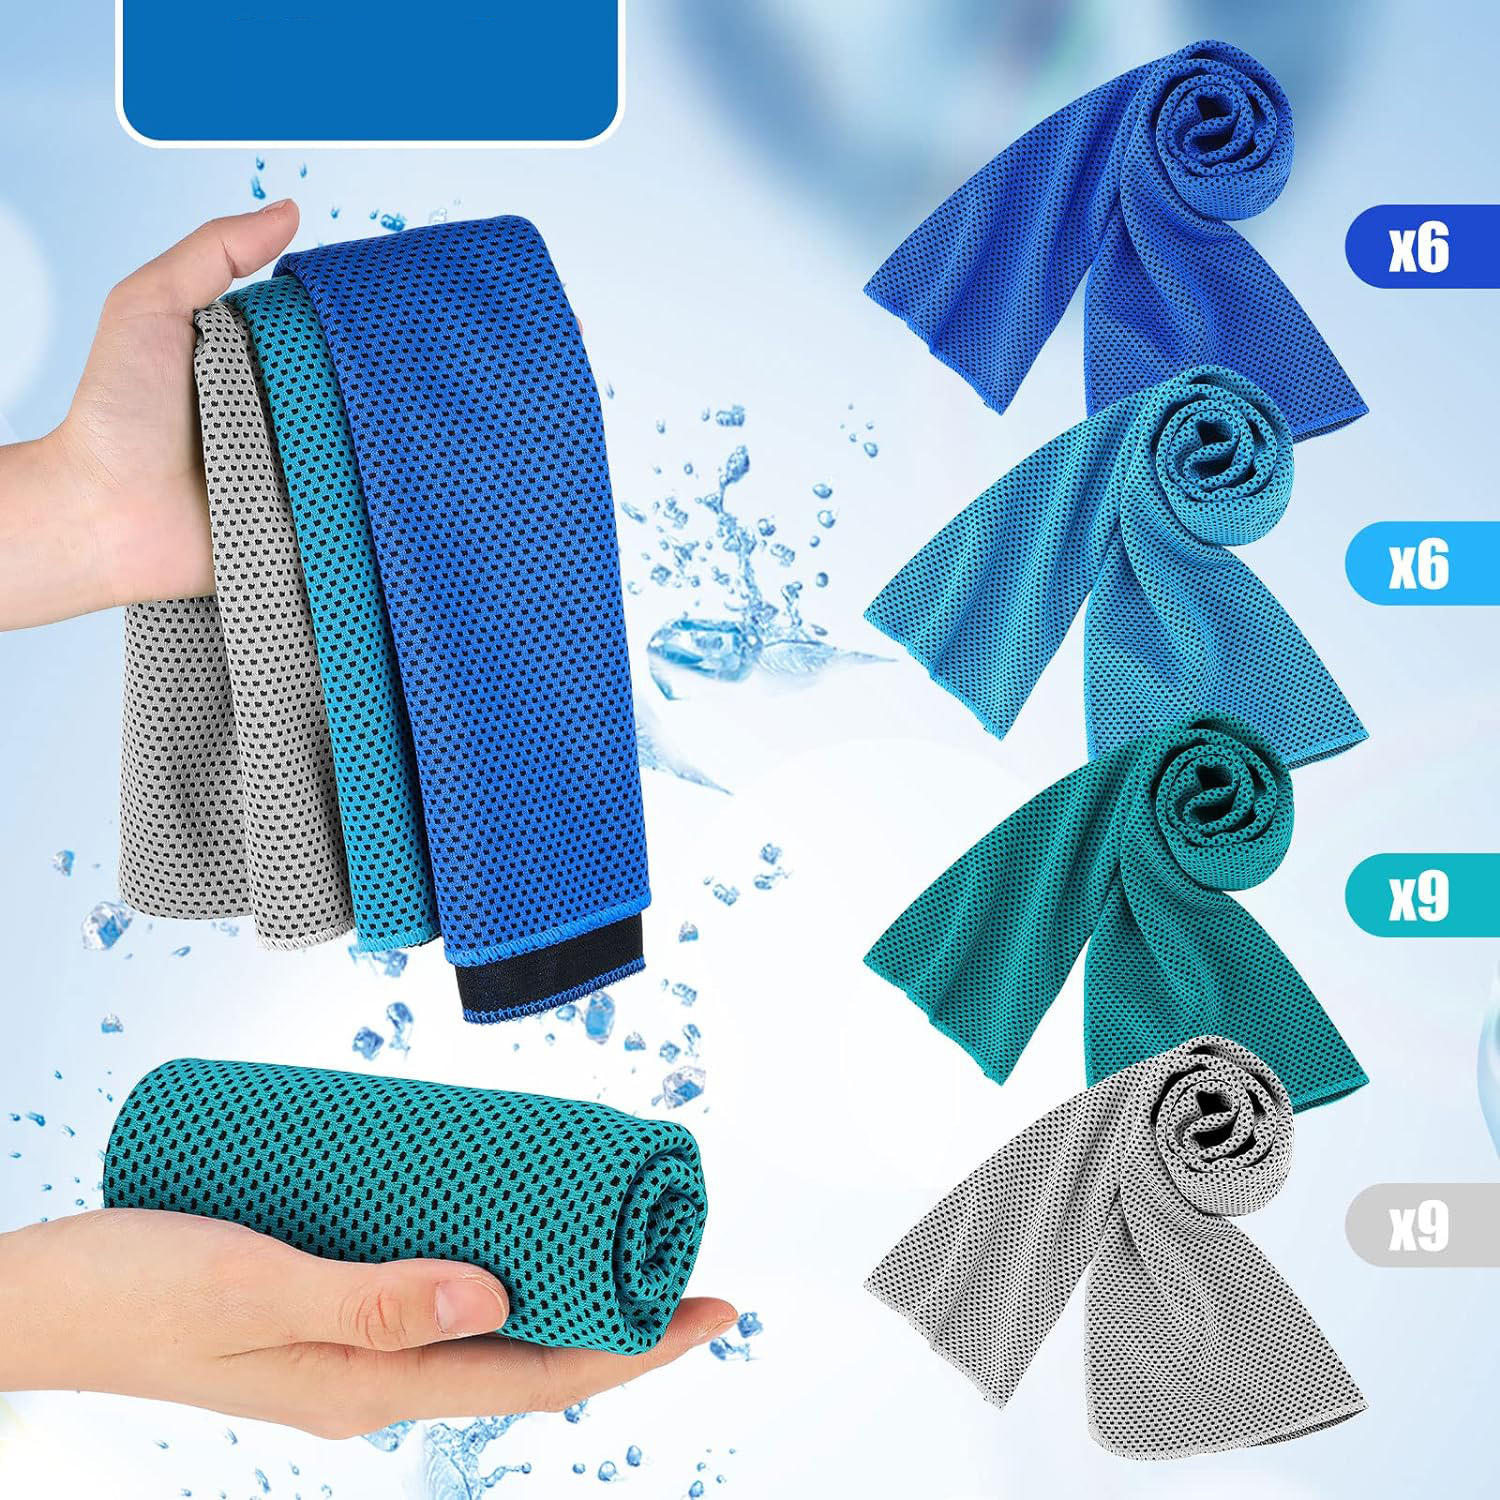
Placement matters most. You can wet your towel the right way, but wear it wrong? You waste 70% of its cooling power.
What makes the difference? Target pulse points. Blood vessels run close to your skin at your neck, forehead, wrists, and shoulders. These spots cool your whole body faster than random placement.
Here are five proven ways to wear it. Each one fits specific activities and settings.
Method 1: The Neck Wrap (Maximum Core Cooling)
Drape your wet towel around your neck like a scarf. Let it sit on both sides of your throat.
This hits your carotid arteries. These big blood vessels carry blood straight to your hypothalamus. That’s your body’s temperature control center. Cool the blood here. You delay your core temperature from hitting the dangerous 39°C mark.
Research proves this works. Studies show neck cooling cuts how hard you feel you’re working by 12-15% compared to no cooling. You feel like you’re working less hard, even at the same pace.
The cooling rate? 0.11-0.17°C per minute with regular towel rotation. Flip it every 10 minutes for steady relief.
Best for: endurance activities, long outdoor work sessions, marathon training.
Method 2: Headband or Turban Wrap (Forehead Focus)
Fold your soaked towel into a 3-4 inch wide band. Wrap it around your forehead. Cover the temples and pulse points along your hairline.
Want a turban style? Twist the ends at the top of your head. Tuck them under the wrap.
This method gives you more time before exhaustion in heat. Your forehead has lots of pulse points packed together. Cooling them affects your whole head.
Snap the towel every 15-20 minutes. This gets airflow going again. It keeps the evaporation working.
Best for: outdoor sports, cycling, tennis, running in direct sunlight.
Method 3: Direct Skin Contact Application (Fast Temperature Drop)
Most people miss this: your towel has two sides that work in different ways.
Place the smooth side (PVA or microfiber surface) against your skin. This pulls heat away fast through quick moisture evaporation. Keep the mesh side facing out for airflow and breathability.
This setup drops skin temperature faster than any other method. You feel relief within 30-60 seconds.
One warning: this loses 50-70% power at humidity over 70%. The air can’t soak up moisture well in muggy weather.
Best for: post-workout recovery, quick cool-downs between sets, hot flash relief.
Method 4: Arm and Shoulder Wrap (Limb-Targeted Cooling)
Wrap the towel around your shoulders or upper arms. Lots of blood vessels sit near the surface here.
Secure it with a simple twist and tuck—no clips needed. Rotate the towel to fresh sections every 5-10 minutes. This gives you a steady 0.14°C per minute cooling rate.
This copies ice towel methods used in emergency heat stroke cases. Those achieve 0.11°C per minute core cooling. It works to prevent heat problems too.
Data shows this boosts how much you get done in heat. It keeps your limbs and torso at a stable temperature.
Best for: construction work, warehouse jobs, outdoor events, yard work.
Method 5: Full Head Coverage Scarf Style (Complete Protection)
Drape your wet towel over your entire head and neck like a traditional scarf. Keep the smooth side touching your skin.
This covers 80-90% of your head surface area. You get two benefits at once: UV protection equal to SPF 30+ through evaporation cooling, plus maximum pulse-point contact.
Tie the ends at your collarbone or let them hang free. This style works 2-3 times better than wrist-only cooling.
Best for: desert hiking, beach activities, gardening, fishing trips.
The Reactivation Rule for All Methods: Snap or wave your towel for 10-15 seconds every 15-30 minutes. Stand near a fan if you can—it boosts evaporation by 20-30%.
You’ll see skin temperature drop 5-10°C within minutes. The towel holds 5-10 times its weight in water. This gives you hours of relief per wetting cycle.
Choosing the Right Wearing Method for Your Activity

Your cooling towel can’t adapt to your activity. You have to adapt it.
Different movements need different wearing positions. The neck wrap that saves you during a 5K run? It fails during HIIT burpees. The headband perfect for yoga? It slides off during basketball.
Match your method to your movement pattern. Here’s how.
High-Intensity Workouts (HIIT, CrossFit, Boxing)
The turban wrap wins here. Your core temperature spikes fast during interval training. You’ll see 0.2-0.3°C per minute during all-out efforts.
Wrap the towel around your forehead and temples. Secure it tight. Your head moves constantly during burpees, box jumps, and kettlebell swings. Loose wraps fail within minutes.
Snap the towel between rounds. Those 30-60 second rest periods? Great for bringing it back to life. Three hard snaps restore cooling power while you catch your breath.
The payoff: studies show forehead cooling cuts how hard you feel you’re working by 10-12%. Your actual work output stays the same. You just feel like you’re working less hard.
Endurance Activities (Running, Cycling, Hiking)
Go with the neck wrap for anything over 30 minutes. Your carotid arteries do the heavy lifting here.
Drape it so it moves with your stride or pedal stroke. Too tight? It restricts breathing and chafes. Too loose? It bounces and irritates your skin.
Flip the towel every 10-15 minutes. Rotate it 180 degrees so fresh, cool sections hit your pulse points. This keeps that 0.11-0.17°C per minute cooling rate going throughout your session.
Marathon runners face issues with wrist-based cooling. Devices show errors of 100-8,000 steps over 60,000 total steps. But towels don’t count steps. They control temperature. The neck position keeps your hands free. Plus, it keeps your core temperature controlled.
Strength Training and Yoga
The shoulder wrap works best here. Upper-body exercises create heat in your arms, chest, and back faster than your legs.
Drape the towel across both shoulders like a yoke. Let it touch your upper back and chest at the same time. This hits several pulse points: shoulders, upper arms, and collarbone area.
Between sets, pull it up to your neck for 30-60 seconds. Then drop it back to your shoulders for the next exercise. This rotation stops any single area from warming up too much.
Yoga? Same placement works. The shoulder wrap stays out of your way during downward dogs, planks, or warrior poses. It stays put during flows where headbands slide and neck wraps bunch up.
Outdoor Work (Construction, Landscaping, Warehouse)

Full head coverage beats everything else in direct sun. You need maximum surface area protection for 4-8 hour shifts.
Use the scarf style. Cover your head, neck, and upper shoulders. This blocks UV rays while targeting pulse points across your entire upper body. The cooling effect equals SPF 30+ protection.
Re-soak every 45-60 minutes. Outdoor workers face tough conditions. You get sustained heat exposure plus physical labor. Your towel dries faster. Plan your water breaks around when you need to reactivate it.
One warning: humidity above 70% kills effectiveness by 50-70%. In muggy conditions, position yourself near fans, air vents, or open doors during breaks. Airflow restores cooling power even with high humidity.
Recovery and Post-Exercise Cooling
Switch to direct skin contact the moment you stop moving. Place the smooth side against your neck, forehead, or wrists.
Your skin temperature drops 5-10°C within 2-3 minutes. This rapid cooling triggers your body’s “rest and digest” mode. It kicks in faster.
Keep the towel still. No more movement means you get better heat transfer instead of just evaporation. Press it against pulse points for 60-90 seconds each. Then rotate to a fresh spot.
Activity-Specific Quick Reference:
-
HIIT/Boxing: Turban wrap, reactivate between rounds
-
Running/Cycling: Neck wrap, flip every 10-15 minutes
-
Strength/Yoga: Shoulder drape, pull to neck between sets
-
Outdoor work: Full head scarf, re-soak every 45-60 minutes
-
Recovery: Direct contact on still pulse points
The right method transforms your cooling towel from a wet rag into a performance tool. Choose based on movement, not comfort.
Reactivation Tips During Extended Use
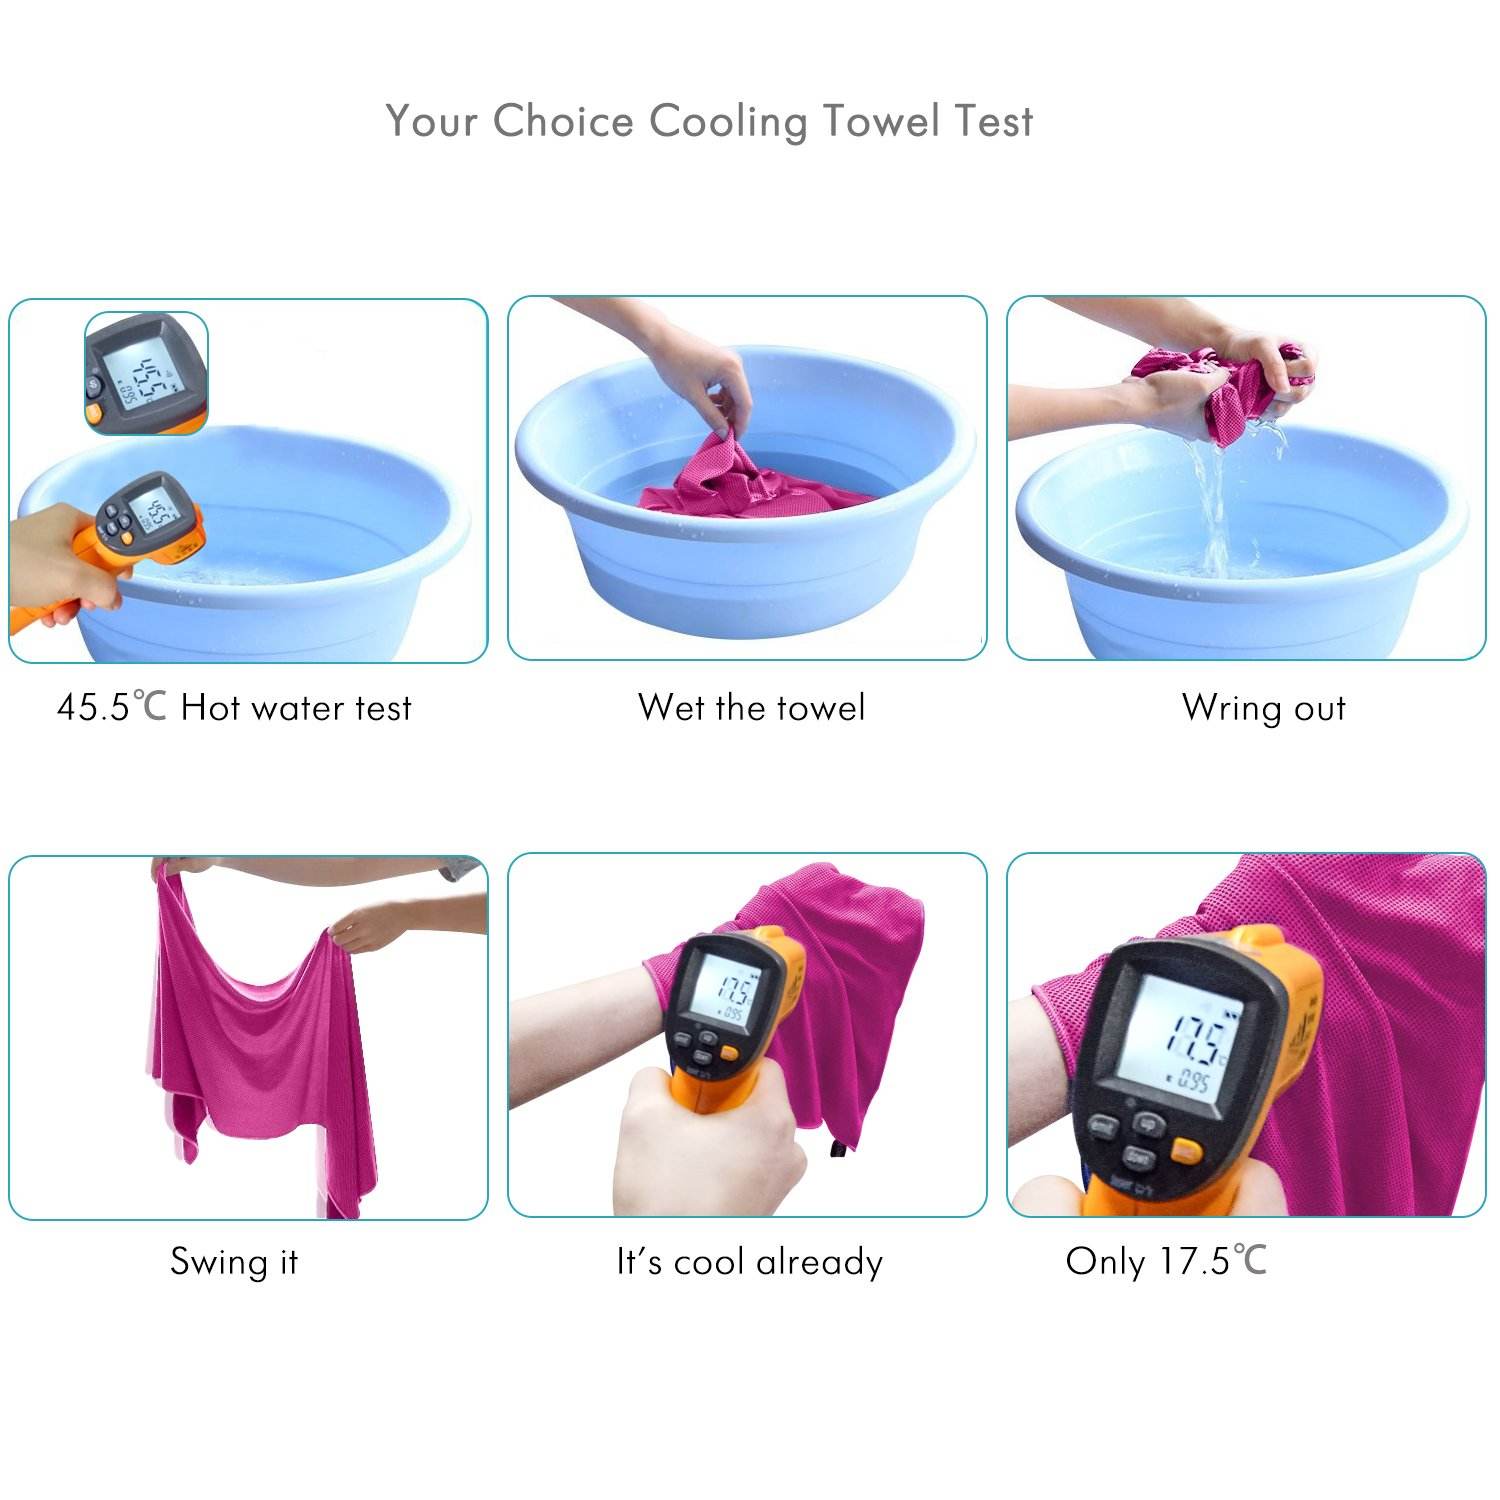
Your cooling towel doesn’t last forever on one activation. The water evaporates. The cooling dies. You need to bring it back to life fast without hurting its performance.
Most people wait too long. They let the towel go bone dry. Then they wonder why it takes 3-4 minutes to cool down again.
Watch for these signs your towel needs reactivation:
The towel feels warm to touch. Not cool. Not cold. Just room temperature or a bit warm. That’s your first warning. The cooling has stopped.
You stop feeling relief. Can’t tell the towel is there? It’s done. A working cooling towel makes a clear temperature difference against your skin. No difference = no cooling.
The fabric feels dry or almost dry. Run your fingers across it. Not wet? You’re running on empty. The moisture is gone.
Here’s your timeline: reactivate every 15-30 minutes in moderate heat (75-85°F). High humidity or temps above 90°F? Cut that to 10-15 minutes. Desert conditions with low humidity? You can stretch it to 45 minutes before the towel dries out.
Quick Reactivation Protocol for Extended Sessions
You don’t need to repeat the full 3-step activation every time.
For towels still damp: Snap it hard 5-10 times. Hold both ends. Whip it through the air. Fresh air rushes through the fibers. This restarts evaporation. No water needed. Takes 15 seconds. You get back 60-70% of cooling power right away.
For towels partly dry: Add a small amount of water. Full submersion? Not needed. Pour 2-4 ounces onto the center. Spread it with your hands. Then snap 5-10 times. This brings you back to 80-90% effectiveness in under 60 seconds.
For bone-dry towels: Full reactivation needed. Soak for 60-90 seconds. Wring it out. Snap it. This takes longer but you can’t skip steps on a dry towel.
The cost difference matters here. Quick reactivations keep your towel active. This is 5 times more efficient than letting it die. You use less water. You waste less time. You get steady cooling instead of cycling between cold and useless.
Track your reactivation timing during your first few uses. Each environment differs. Humidity, temperature, and your activity level all change how fast the towel dries. Find your personal baseline. Set a timer if you need one.
One trick the pros use: carry a small water bottle just for towel reactivation. Your drinking water stays clean. You have instant access. No need to hunt for a fountain or hose. A 16-ounce bottle gives you 4-6 quick reactivations during a 2-hour session.
Care and Maintenance After Wearing
Proper care starts the second you take off your cooling towel. Skip this step? You’re cutting its lifespan in half.
Your towel just absorbed sweat, dirt, oils, and whatever else you put it through. That buildup sits in the fibers. It blocks water absorption. It kills cooling power. It makes the towel smell like a gym locker.
Here’s what works.
Immediate Post-Use Actions
Rinse your towel with clean water right after use. Don’t wait. Don’t toss it in your bag wet.
Hold it under running water for 30-45 seconds. This flushes out sweat, body oils, and surface dirt before they set into the fabric. Squeeze it while rinsing. You’re not trying to wring it bone dry. Just push water through the fibers.
Turn synthetic cooling towels inside out if they have a smooth side and mesh side. The smooth PVA layer touches your skin. Oils build up there. Flip it. Rinse that side.
Check for visible dirt on zippers, metal clips, or mesh sections. Wipe them with your fingers under running water. Metal components rust if you leave sweat and minerals sitting on them. Plus, grit in zippers destroys the mechanism over time.
One warning: muddy conditions need a different approach. Wipe the dirt off with a damp cloth first. Don’t grind dirt into technical fabrics. Wipe it off. Then rinse.
Washing Your Cooling Towel
Machine wash works for most cooling towels. Check your tag first.
Turn the towel inside out. Separate by color if you’re washing multiple towels. Use the gentle cycle. Select cool or warm water—never hot. Hot water breaks down PVA and microfiber structures faster.
Detergent matters here. Use mild soap. A light hand with detergent prevents residue buildup. Too much soap clogs the tiny pores in your towel’s fabric. Water can’t get absorbed. Air can’t flow through. Both are bad for cooling.
Never use bleach. Never use fabric softener. Both destroy the technical properties that make your towel work. Fabric softener puts a waxy coat on the fibers. Your towel won’t absorb water after that.
For hand washing: fill a basin with lukewarm water and mild detergent. Submerge the towel. Move it around to loosen dirt. Let it soak 10-15 minutes. Rinse under clean water until the water runs clear and all detergent is gone.
Don’t wring or twist the towel during washing or rinsing. This damages fibers and changes the fabric structure.
Drying and Storage
Air drying beats machine drying for cooling towels. Lay the towel flat on a clean, soft towel. Reshape it while it dries to prevent stretching or warping.
Avoid direct sunlight. UV rays break down synthetic fibers over time. Keep it out of heat sources like radiators or vents.
Need to use a dryer? Tumble dry on low heat. Check your care label first. Some PVA towels can’t handle machine drying at all.
The critical rule: dry your towel before storing it. Damp towels breed mildew and bacteria. This creates odors you can’t wash out. The fabric loses its ability to pull moisture away from your skin.
Store your cooling towel in a dry, ventilated space. Not in a sealed plastic bag. Not at the bottom of a gym bag with wet clothes. Roll it or fold it and place it somewhere with airflow.
Maintenance Schedule
Wash your cooling towel based on how often and how hard you use it:
-
Intense workouts: Wash after every use
-
Moderate use (2-3 times per week): Wash every 2-3 uses
-
Occasional outdoor work: Wash when you notice buildup of sweat, oils, or dirt
Regular maintenance stops small problems from becoming big damage. Inspect your towel after each use. Look for loose stitching, small holes, or fraying edges. These are easier to fix soon after they appear.
Clean, dry storage prevents most long-term issues. It keeps your towel ready to activate the next time you need it.
Common Wearing Mistakes to Avoid
Three mistakes kill your cooling towel’s power before you even break a sweat. I see them all the time—at the gym, on job sites, during marathons. People buy premium cooling towels. Then they wonder why they get lukewarm results instead of ice-cold relief.
Mistake #1: Skipping the Activation Snap
You soak the towel. You wring it out. Then you slap it on your neck.
Wrong.
That missing snap costs you 40-60% of your cooling power. The towel stays wet but doesn’t cool. Why? The water hasn’t started to evaporate yet. The fibers hold water, but air isn’t moving through them.
The snap does the work. It forces air between the fabric layers. It spreads moisture across the towel. It kicks off the process that cools you down.
Three hard snaps minimum. Hold both ends. Whip it through the air. You should feel the temperature drop in your hands within 5-10 seconds.
Skip this step and you’re wearing a damp rag. Not a cooling system.
Mistake #2: Wringing It Bone Dry
Too much squeezing kills your cooling power. I get it—nobody wants water dripping down their back. But bone-dry fabric can’t evaporate moisture it doesn’t have.
The sweet spot: damp to touch, not dripping. Think about a wrung-out washcloth after you’ve squeezed it once. That level of dampness.
Squeeze too hard and you’ll need to reactivate every 5-10 minutes instead of every 20-30 minutes. Your towel dries out fast. The cooling dies. You waste time re-soaking it over and over.
One firm wring removes excess water. Two wrings if it’s still dripping. Stop there.
Mistake #3: Wearing It Too Loose or Too Tight
Loose neck wraps slide around. They bunch up. They lose contact with your pulse points. No contact means no cooling transfer to your blood vessels.
But tight wraps choke you. You can’t breathe right. They create pressure points that hurt after 10-15 minutes. You’ll yank the towel off before it even starts working.
The fix: snug enough to stay in place during movement. Loose enough to slide two fingers underneath. Test it before you start your activity. Move your head side to side. Do a few jumping jacks. The towel should stay put without choking you.
Position matters just as much. The towel needs to sit on your carotid arteries (both sides of your neck) or your forehead pulse points. An inch off target cuts results by 30-40%.
One last thing: never layer your cooling towel under thick clothing or helmets. The fabric needs airflow to work. Trapped under gear, it turns into a hot, wet mess that makes you sweat more instead of cooling you down.
Maximizing Cooling Performance: Pro Tips
Your cooling towel performs at 60% capacity right now. These five adjustments push it to 95%.
Layer Smart: Never Block Airflow
Thick headbands, helmets, or tight hats trap moisture against the fabric. This stops evaporation dead. Your towel needs exposure to moving air—at least 50% of its surface area.
Construction workers make this mistake all the time. They wear their cooling towel under hard hats. The result? A hot, wet compress that increases discomfort instead of reducing it.
The fix: position your towel so it extends beyond gear. Drape it over your shoulders with the ends hanging free. Or wrap it around your neck with both sides exposed to air. Must wear a helmet? Use the shoulder wrap method instead of head coverage.
Athletic gear works the same way. Compression shirts, tight collars, or vests that press the towel flat against your skin kill its power. Keep clothing loose around the towel.
Pick the Right Water Temperature
Cold tap water (59-68°F) delivers 3-4 hours of cooling per activation. Ice water (32-40°F) gives you a stronger initial sensation but just 90-120 minutes of performance.
Why? Ice-cold water evaporates slower at first. It feels amazing for 15-20 minutes. Then the cooling rate drops below what you’d get from regular cold water. The physics works against you.
Room temperature water (70-75°F) still works in a pinch. You’ll get 60-70% of normal effectiveness. Better than nothing during emergencies or if cold water isn’t available.
Test this yourself. Soak two identical towels—one in ice water, one in cold tap water. Time how long each stays cool during the same activity. Cold tap water wins on duration almost every time.
Boost Evaporation With Movement
Standing still cuts your towel’s cooling power by 40-50%. Moving air across the fabric increases evaporation rates fast.
Walk while wearing your neck wrap. The natural breeze you create refreshes the cooling effect. Cyclists and runners get this benefit built-in. Their speed generates constant airflow.
Warehouse workers and construction crews? Position yourself near fans during breaks. Even 30 seconds of fan exposure reactivates a damp towel without re-soaking it. The forced air restarts evaporation that slowed down in still conditions.
One pro trick: wave or shake the towel every 10 minutes while wearing it. This disrupts the humid air layer that forms against the fabric. Fresh, dry air rushes in. Cooling resumes at full strength.
High humidity environments (above 70%) need this technique the most. The air already holds lots of moisture. It can’t absorb more unless you force air movement through the towel.
Rotate to Fresh Sections
Your towel doesn’t cool the same across its entire surface. The section touching your hottest pulse point warms up first. The opposite end stays cooler longer.
Flip your neck wrap every 8-10 minutes. Rotate it 180 degrees. The cool section hits your carotid arteries. The warm section gets air exposure to re-cool.
This simple rotation extends cooling performance by 30-40% between reactivations. You’re using the whole towel instead of just the middle section.
Headband wearers: shift the band forward or backward every 15 minutes. This moves fresh fabric over your forehead pulse points. The section that was on top gets airflow. The section underneath gets repositioned.
Track your rotation timing during your first few sessions. Set a phone timer. It becomes automatic after 3-4 uses. You’ll feel a section warming up without checking the clock.
Combine With Hydration Breaks
Your internal temperature affects how well external cooling works. Dehydrated bodies can’t regulate heat well. Your cooling towel fights harder to achieve smaller results.
Drink 7-10 ounces of water every 15-20 minutes during heat exposure. This maintains blood volume. Better circulation means your pulse points transfer heat better to the cooling towel.
Sync your reactivation schedule with hydration breaks. Stop. Drink water. Re-snap or re-wet your towel. This two-minute pause resets both your internal cooling (hydration) and external cooling (towel) at the same time.
The combined effect reduces core temperature 0.25-0.35°C per cycle instead of 0.11-0.17°C from the towel alone. That difference prevents heat exhaustion during 4-8 hour outdoor shifts.
One warning: avoid ice-cold drinks right after intense activity. They can cause stomach cramps. Room temperature or cool water works better for rapid consumption during breaks.
Conclusion
Learning how to wear a cooling towel is simple. Wear it right, and it changes your workout, outdoor time, or hot workday from tough to comfortable. You might choose the neck drape, headband wrap, or wrist method. The key? Activate it right and place it on your pulse points.
Here’s what counts: Use the wet-wring-snap method to activate it. Pick your style based on how active you’ll be. Reactivate it once the cooling fades. These small tweaks keep you cool for hours, not just minutes.
Your turn now. Grab that cooling towel and try the different methods we covered. Find what fits your body and lifestyle best. New to this? Start with the neck drape—it works every time and cools you fast.
No more suffering through the heat. Stay cool and perform your best, no matter how hot it gets.